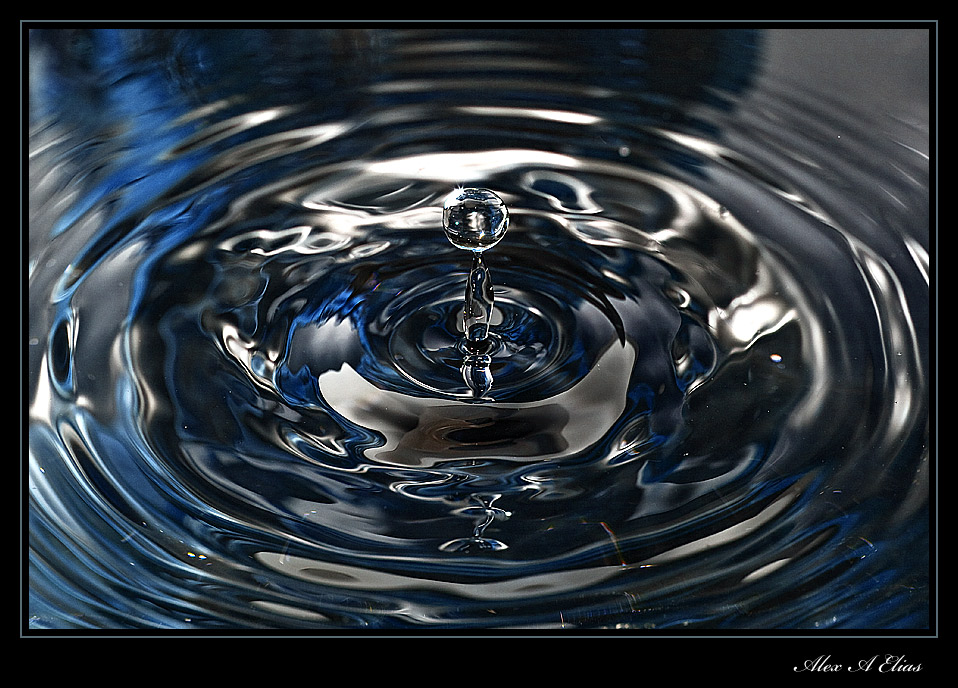
This are some images I took a while ago. I first tried this with milk and the results was not what I was hoping for. Lighting was not the best. The idea on this type of photography, aside of capturing the water droplet properly and sharp, is to have nice reflections and some highlights and shadows created by the ripples, thus enhancing the image by adding some depth.
Front lighting is not the way to approach this topic, unless you are looking for a flat looking image without any sence of relief. The way to do it (one of them at least) is to use one or more lights detached from the camera. In this set up I used one light; if you can imagine a clock I was at 12 the water droplet was the center of the clock and the flash was at 4 pointing at the droplets.
The set up was quite simple. Pirex with water on a low table. The camera was sitting on the tripod in front of the pirex I was using a Canon EF 100mm f2.8 Macro lens set at f8 for good depth of field. Speed was at 200 and ISO at 100. The key to illuminate the water here is the flash, that is what is going to not only light the frame but also freeze the action; therefore I set the Canon 580EXII to manual and lower the power to let say 1/64th and from there find the right output up or down until you have the right exposure.
What I used for the droplets was an empty gallon of milk with some water in it, poke the smallest hole you can (I mean this) you just want a constant drip and that is it. Hung it from something above the pirex (about 30 inches) that way you don’t have to be holding the gallon. Doing this will keep the source of water still and the droplet will hit the same place every time. Set your lens to manual and focus the place where the droplet hits, and the rest is fun time.
If you have a cable release it going to be useful. Also, the amount of water on the pirex and the distance of the water gallon to the pirex will determine the shape of the splash.
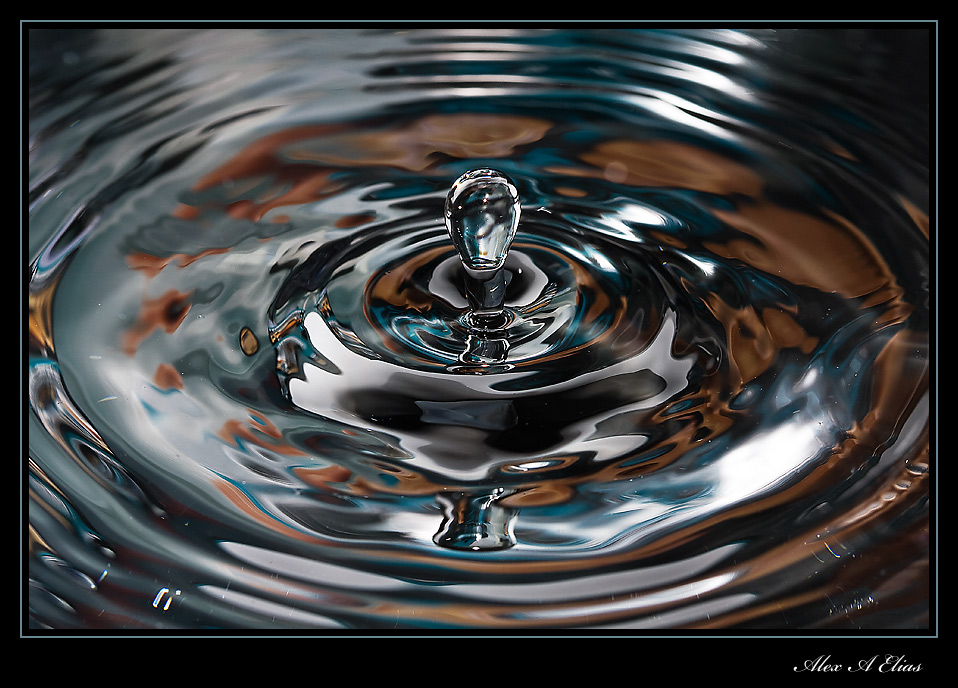
For more fun. If you change the withe balance to Tungsten the picture will turn out blue. If you put a color source in the back of the pirex and point the flash to it the relection of it will light up the water creating some interesting results.
I’ll upload some more with the different colors if anyone care.
Thanks for looknig.
Alex
PS: If you have any questions or comments free free to post or share your thoughts.