Picture of the day. Close up and still Photography.

My dear friend Jeff got my this fabulous flower arrangement. When I first saw it I got amazed by the looks and attention to details not to mention the fragrance was just incredible as well. Since flower look great for so long I decided I wanted to make them the subject of a photo shoot. My first thought was to take a few pictures of it but the few pictures turn out to be over 100 pictures and a bit over 3 hours. I started shooting the base only and then I got inspired and started to shoot individual flowers, different lenses angles and lighting scenarios.

Equipment used

The pictures were taken with a Canon 7D set at ISO  160 speed at 250 F8 and white balance fixed at 5800K for most images. Later during the shot I started using F16 for the close ups so I switched to ISO 200 and 250. I mostly used a Canon EF 24-70 2.8L and Canon EF 100Macro 2.8 also some pictures were done using a Canon EF-S 10-22 to get some different perspectives. As far as lighting this time I did not use strobes. I took all the pictures with a Canon 580EXII and a Lastolite easy box 2×2 and a white reflector to bounce some fill light on the opposite side. Later during the shoot I added a Canon 430EXII with an umbrella. I controlled the lights with a Pocket wizard mini TT1 and the AC3 controller (both lights were in manual mode on independent groups)

Thanks for looking and don’t hesitate to ask should you have any questions.

Regards,

Alex Elias

Advertisement

Photo of the day. Macro photography flowers part 2

I wrote something about macro and close up photography a while ago here https://alexephotos.wordpress.com/2009/10/25/macro-photo-of-the-day-feathers/  this talks about the set up I used to take pictures of feathers. The ABC’s are the same.

Tripod is almost a must first for the obvious reason of steadiness and second to find the composition that better suits your eye and third so every thing remains the same if you like to play with the lights to get different effects, so a tripod is paramount for this kind of images.

Use the mirror lock up function if your camera has one (it helps reduce or eliminate vibrations created by the mirror when it flips up)  If you don’t know if your camera has that feature or not this would be a good time to get something call owners manual, it’s a little book that came inside the box and most likely was tossed aside 🙂 if the camera does not have a mirror lock up feature use a self timer.

Cable release or wireless trigger also helpful to reduce vibrations.

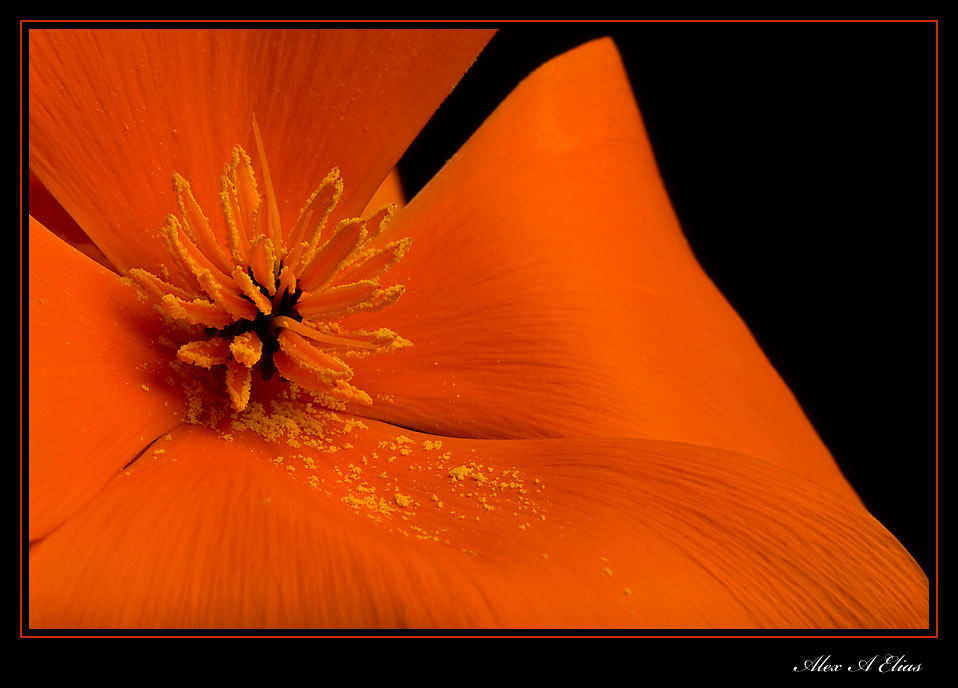
I used a Macro lens Canon EF 100mm 2.8 but it is not a must if you don’t own one work as close as the lens will let you. There are some accessories one can use as well such as close up filters, or extension tubes to increase the magnification.  Now that we are mentioning the lens it is best to focus manually to get the best possible focus and use a small appeture with ironically is the larger number this images were taken at  f20 although this will add to the Depth of filed it might not be the best f stop due to something call diffraction, f11 to f16 depending on the camera and lens could be safe.

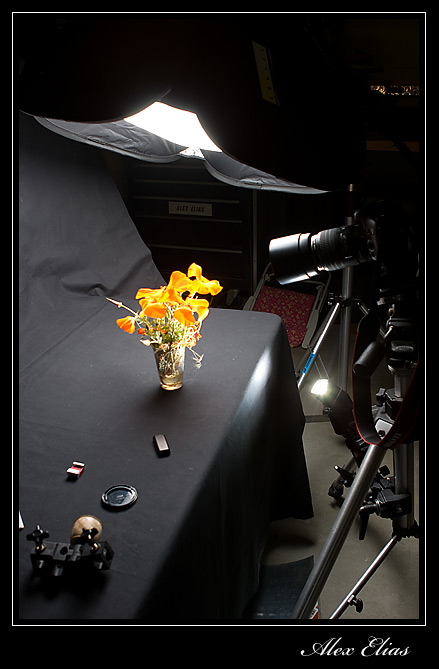
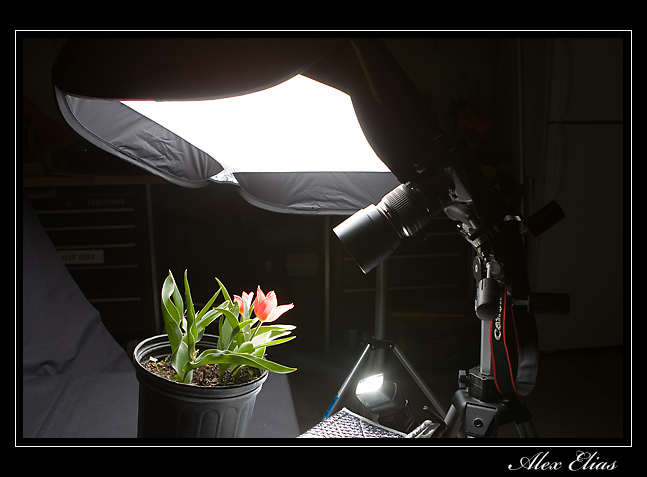
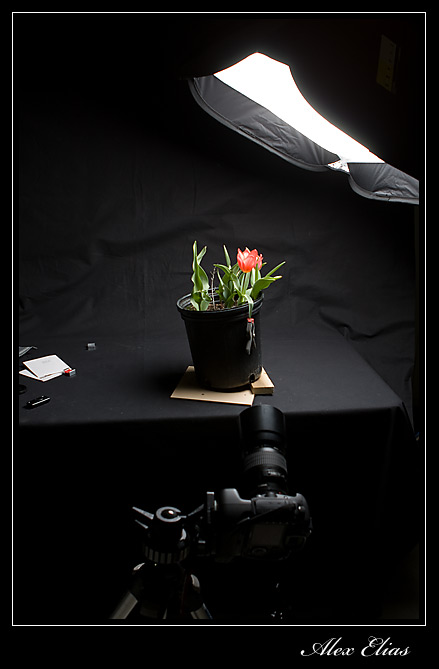
As far as lighting  I used mainly one Canon 580EXII on a stand with a 24″x24″ lastolite soft box. The flash was trigger via  Pocket Wizard Mini TT1 on the camera and a Pocket Wizard Flex TT5 on the flash. The flash was set to manual (find your own exposure and flash distance to subject) and shoot away.

On some of the pictures of the Poppies you’ll noticed I used 2 Flashes, the main one and on the center post of the tripod I attached at second unit (Canon 430EXII) also in manual mode connected with a Pocket Wizard FlexTT5. Since the poppies are rather thin I wanted to see how it would look like with some light coming from behind the petals.

Reflectors could be helpful to fill in shadow areas on the opposite side of the main light, depending on the look that you are after and the lights available to you, a reflector allows you to shoot with only one light. Even if you don’t have any lights available, place your subject next to a window with diffused light coming through and use the reflector on the other side.

I shoot this pictures with a Canon 7D set to manual mode. the speed was set at 50th of a second (although I’d recommend 250th) I guess I was not paying enough attention when I did my set up shame on me 🙂  ISO for most pictures was set between 100 and 200 and for a few where I needed more light instead of cranking up the flash too much I gave the camera a way to go with a 400 ISO (that is one way to conserve a bit of batteries and get faster recycle times) not that is so important for still photography to have a fast recycle time anyway.

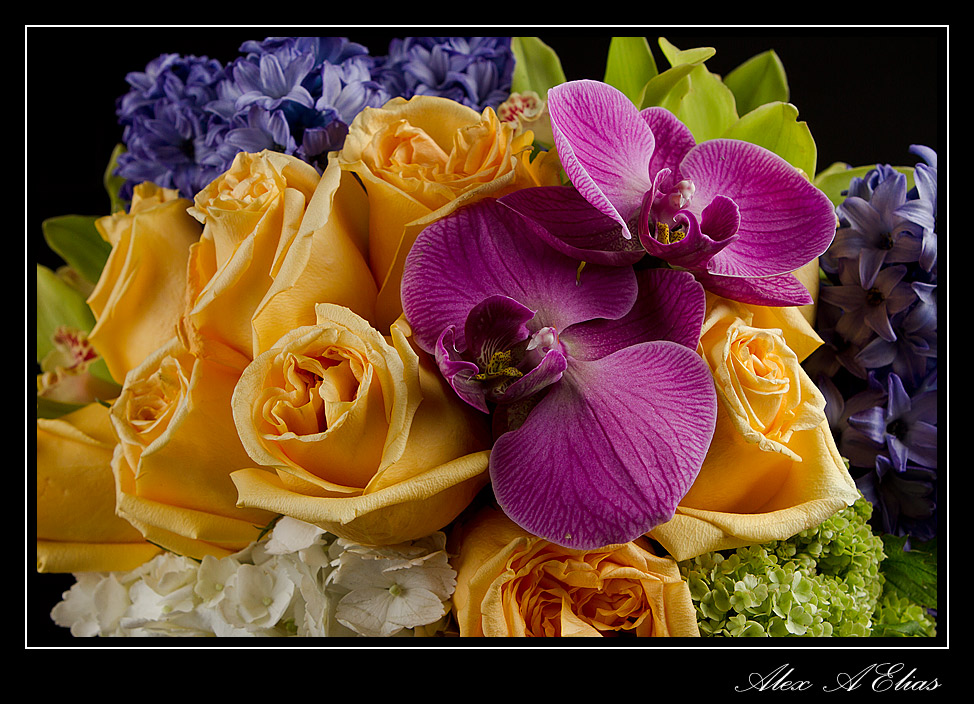
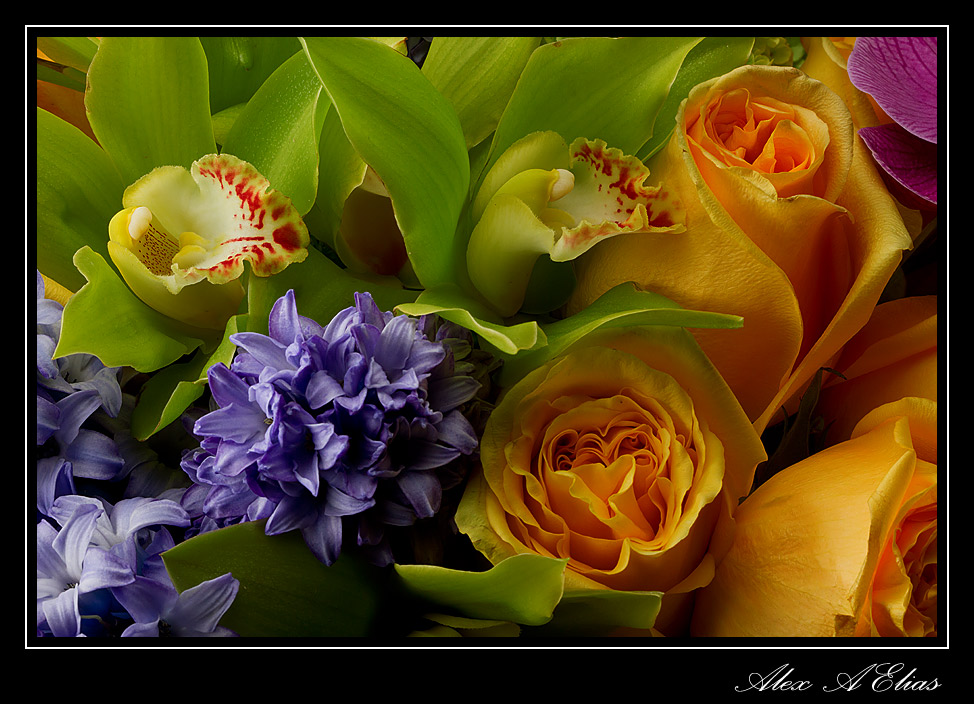
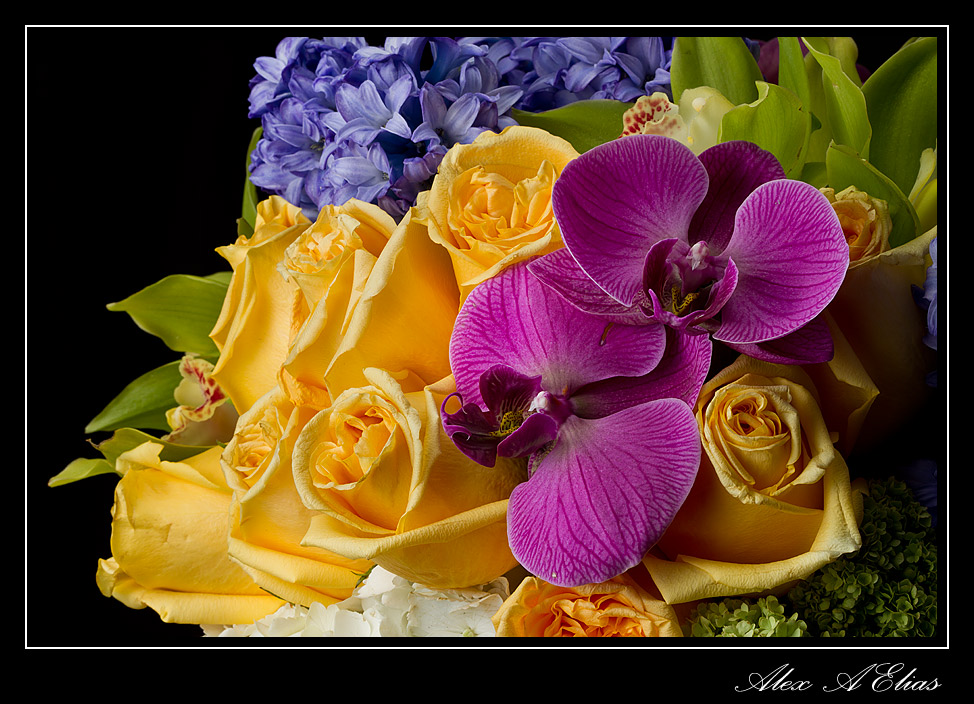
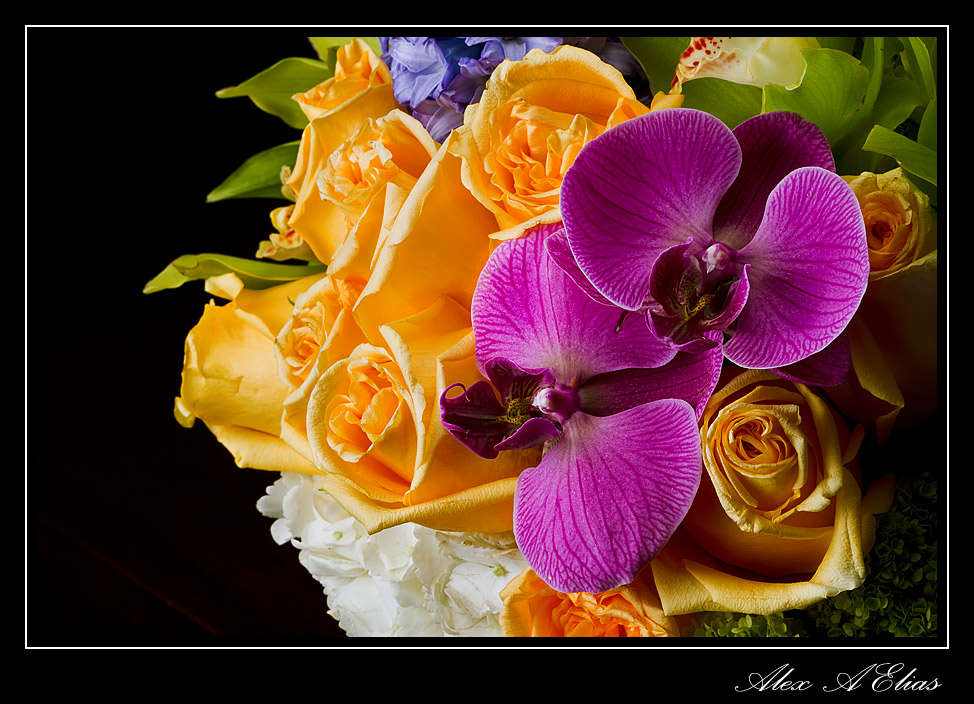
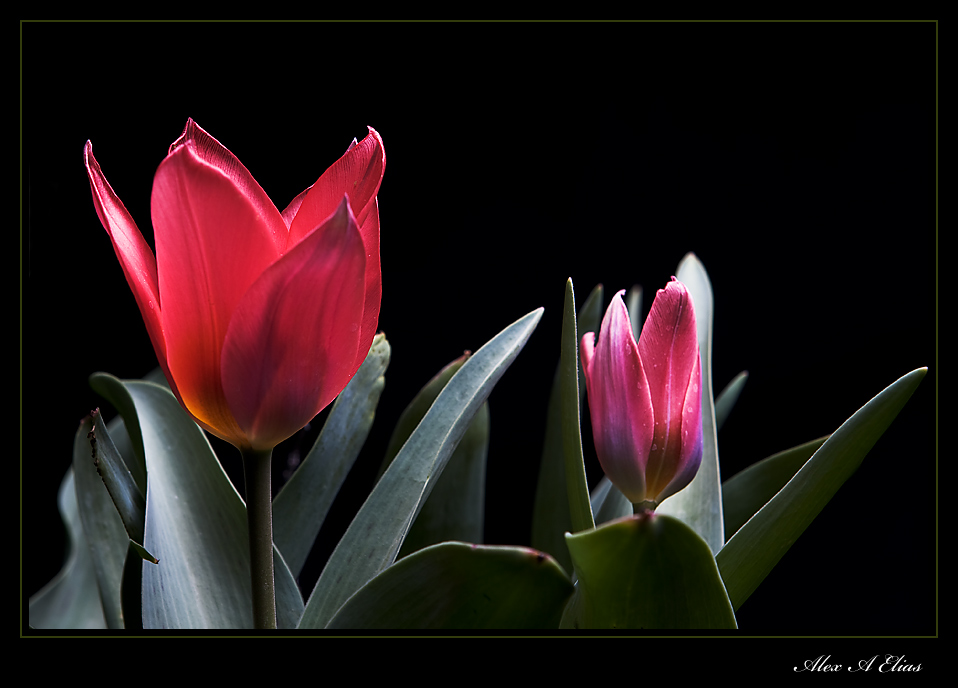
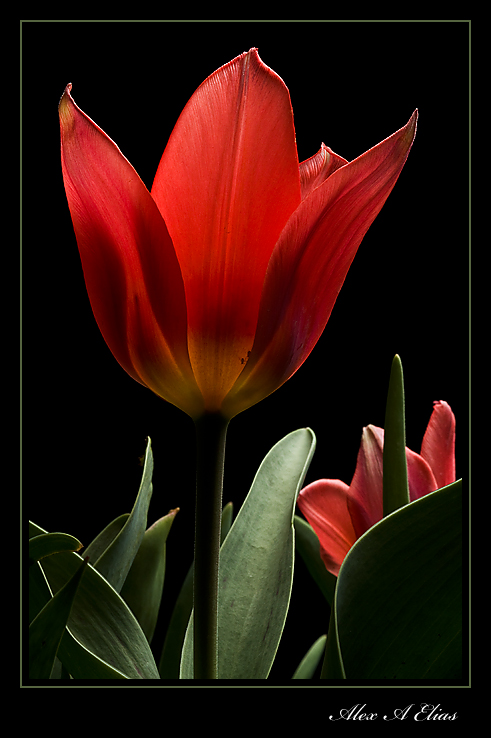
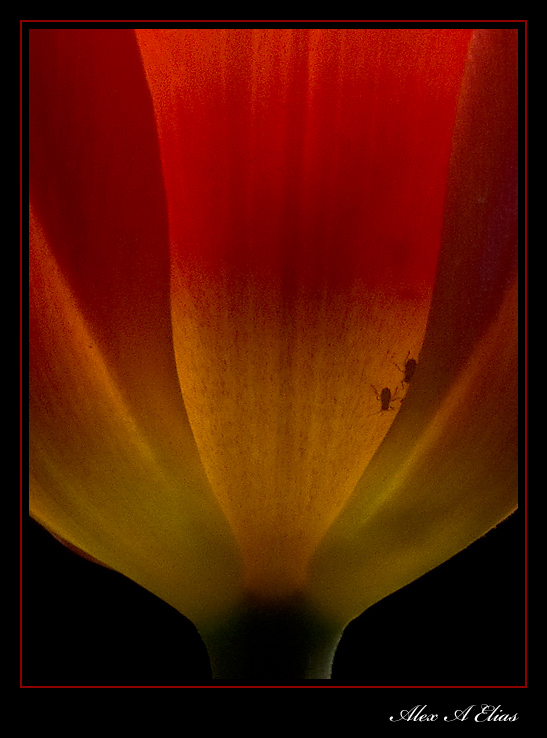
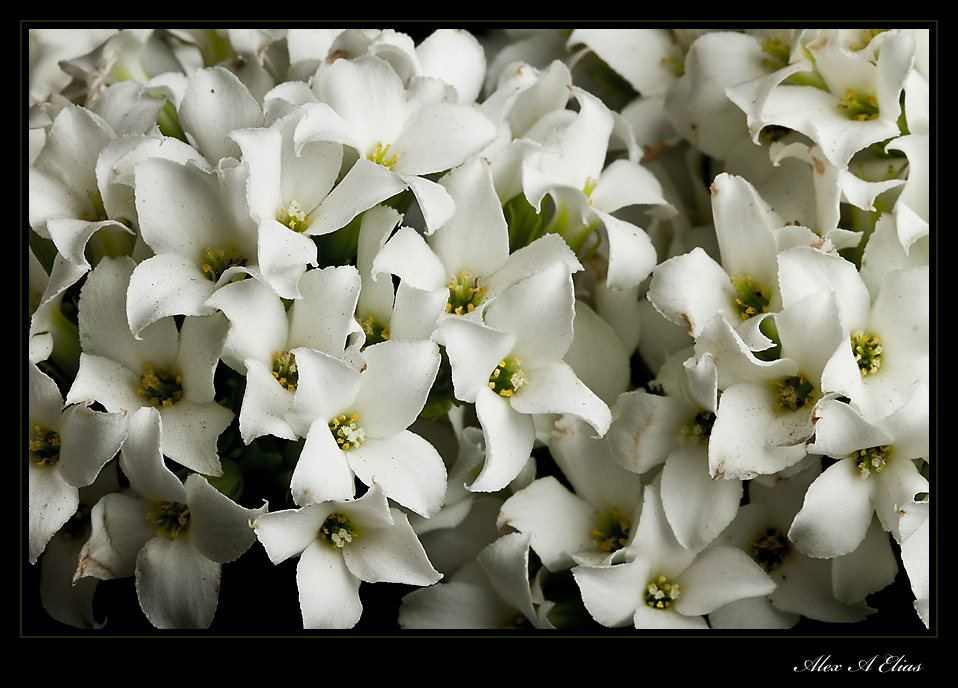
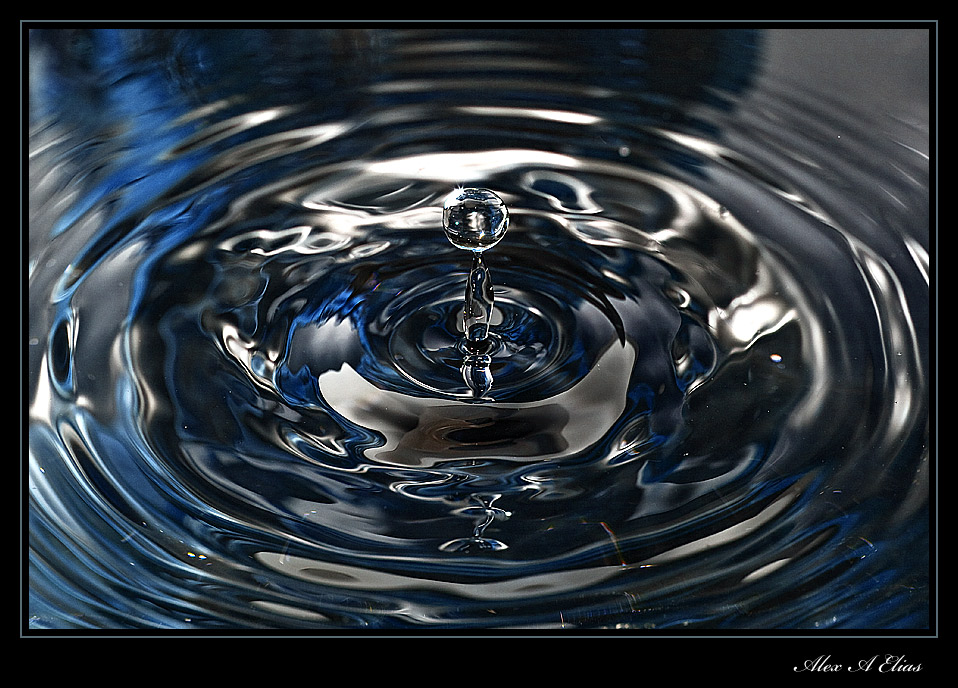
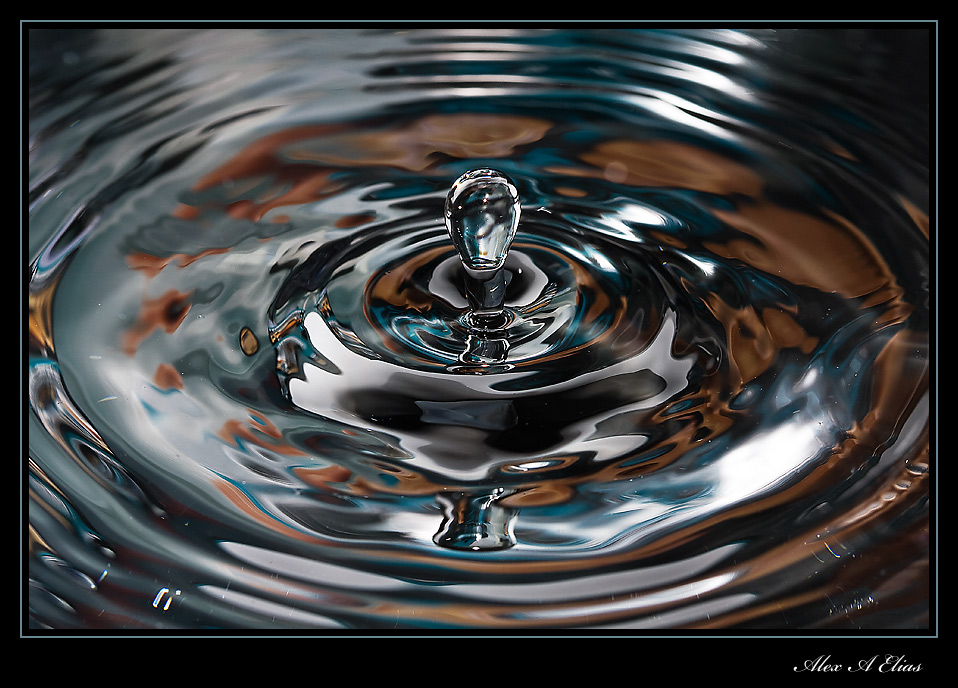
Here it are some of the pictures along with pictures of the set up.

Thanks for reading this and don’t hesitate to comment, ask questions of post your own experiences.

Regards,

Alex ELias

Photo of the day. Close up photography of water droplets.

This are some images I took a while ago. I first tried this with milk and the results was not what I was hoping for. Lighting was not the best. The idea on this type of photography, aside of capturing the water droplet properly and sharp, is to have nice reflections and some highlights and shadows created by the ripples, thus enhancing the image by adding some depth.

Front lighting is not the way to approach this topic, unless you are looking for a flat looking image without any sence of relief. The way to do it (one of them at least) is to use one or more lights detached from the camera. In this set up I used one light; if you can imagine a clock I was at 12 the water droplet was the center of the clock and the flash was at 4 pointing at the droplets.

The set up was quite simple. Pirex with water on a low table. The camera was sitting on the tripod in front of the pirex I was using a Canon EF 100mm f2.8 Macro lens set at f8 for good depth of field. Speed was at 200 and ISO at 100. The key to illuminate the water here is the flash, that is what is going to not only light the frame but also freeze the action; therefore I set the Canon 580EXII to manual and lower the power to let say 1/64th  and from there find the right output up or down until you have the right exposure. 

What I used for the droplets was an empty gallon of milk with some water in it, poke the smallest hole you can (I mean this) you just want a constant drip and that is it. Hung it from something above the pirex (about 30 inches) that way you don’t have to be holding the gallon. Doing this will keep the source of water still and the droplet will hit the same place every time. Set your lens to manual and focus the place where the droplet hits, and the rest is fun time.

If you have a cable release it going to be useful. Also, the amount of water on the pirex and the distance of the water gallon to the pirex will determine the shape of the splash.

For more fun. If you change the withe balance to Tungsten the picture will turn out blue. If you put a color source in the back of the pirex and point the flash to it the relection of it will light up the water creating some interesting results.

I’ll upload some more with the different colors if anyone care.

Thanks for looknig.

Alex

PS: If you have any questions or comments free free to post or share your thoughts.