Single light source portrait.


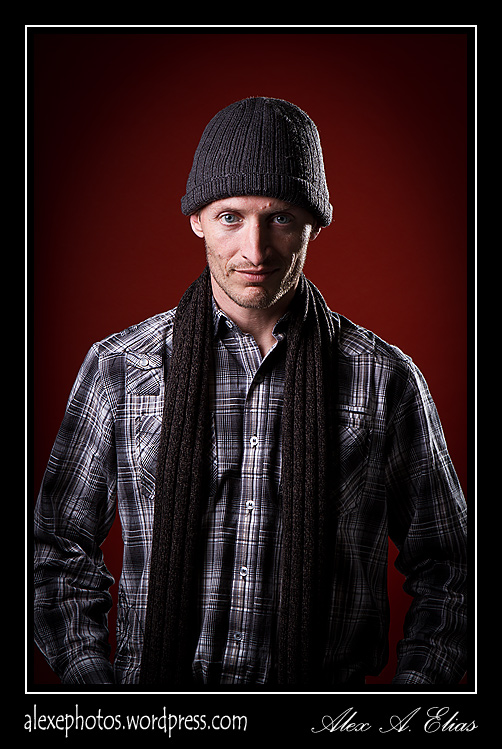
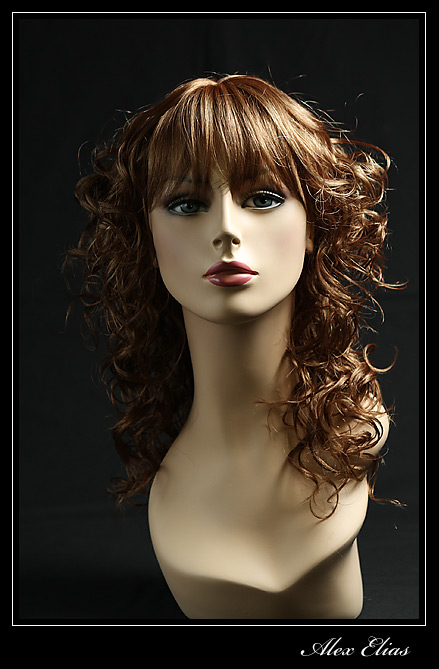
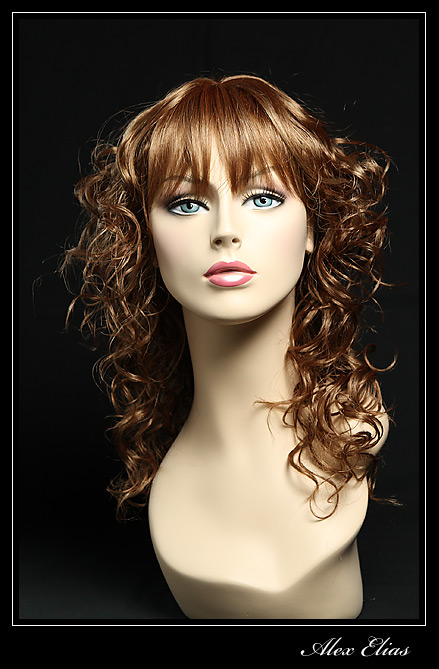
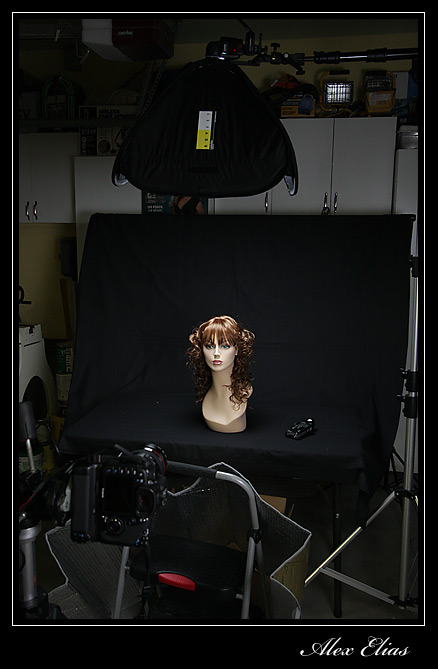
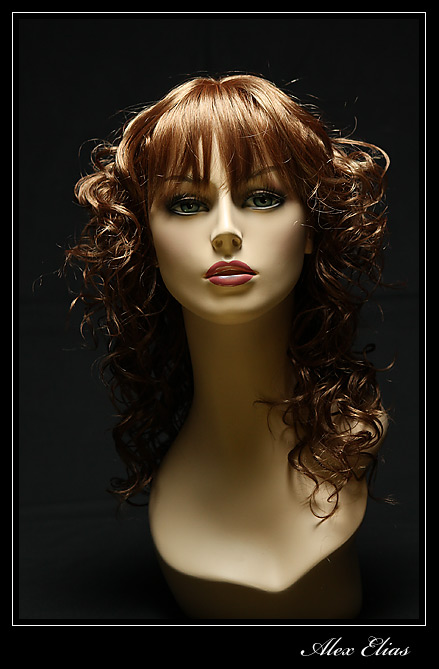
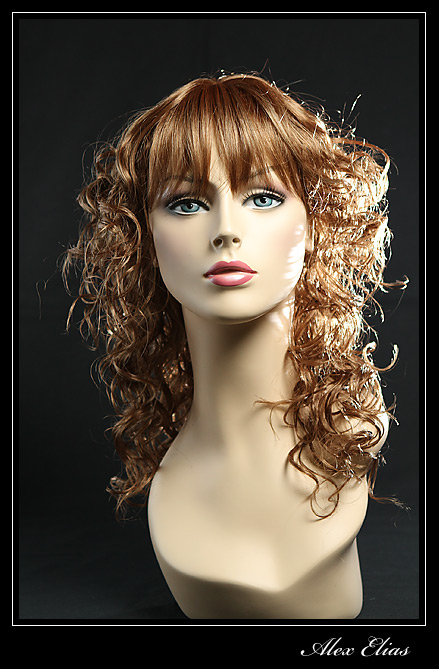
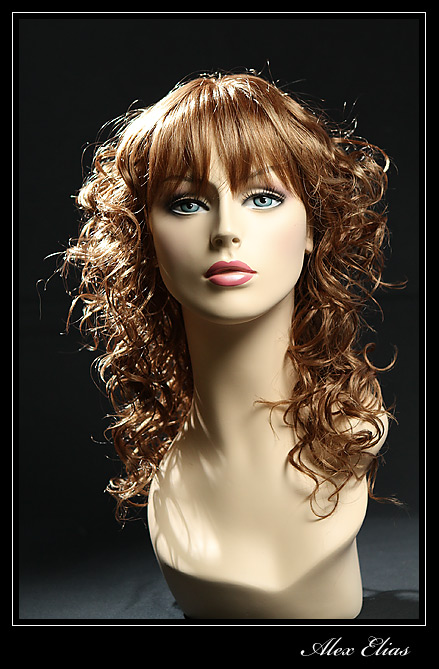
Here is a portrait done with a single light. Since the light source was relatively large compared to her and it was not far, I was able to get the look I was after without the need of additional lights or bounce cards.

The strove was an Einstein from Paul Buff fitted with a 35″ octabox. I attached a grid to the Octa to direct and guide the light more precisely. That “on my opinion” makes the light a bit punchier adding a touch more contrast and also it kept the light from spilling over to the background.

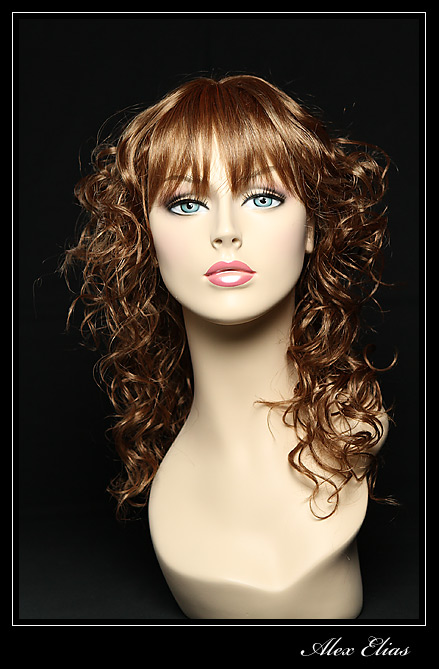
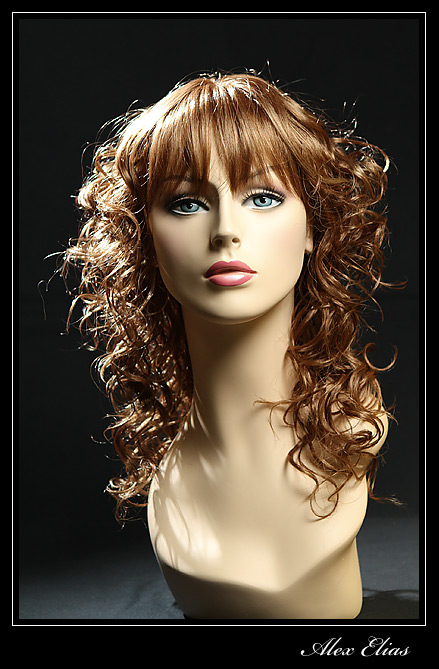
The portrait was shot with a Canon 5D MrkIII and a Canon ef 70-200mm f 2.8 is L. A Pocket wizard Mini TT1 and Pocket Wizard power MC2 were transmitting and receiving to power the strove.

And that is how I shot this portrait with a single light source.

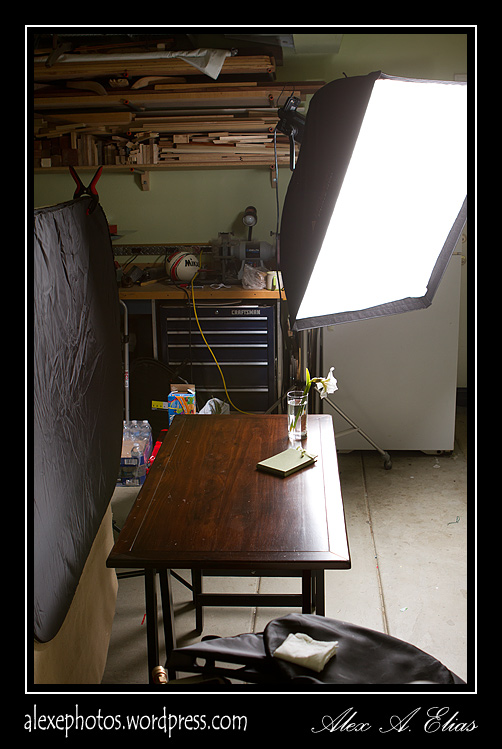
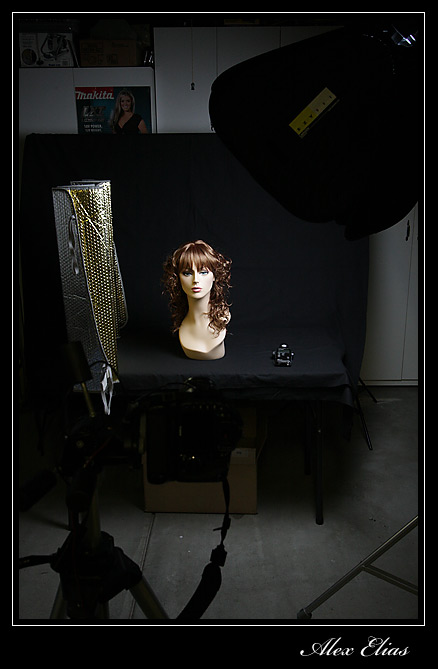
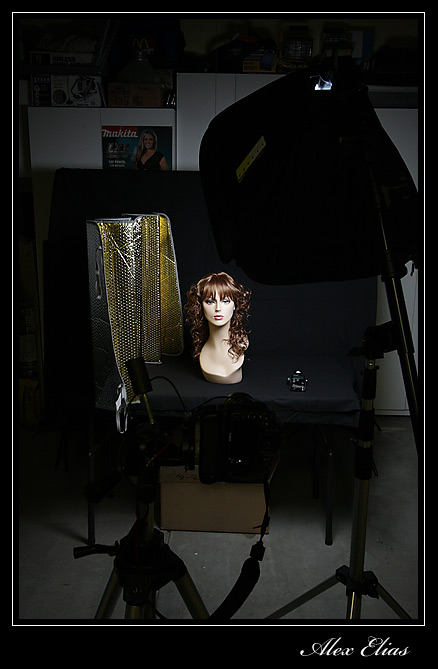
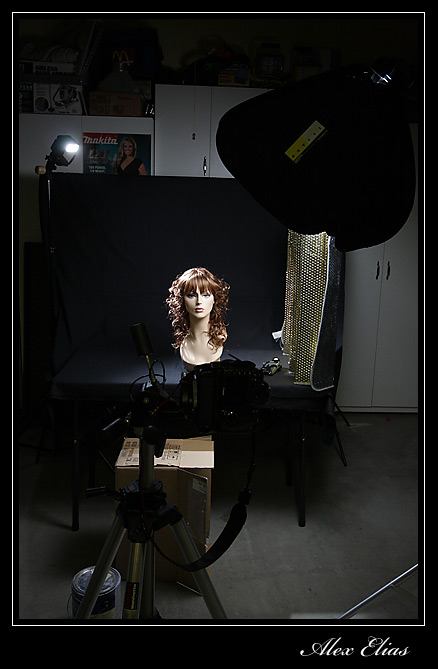
Here is a diagram with the light set up.

Natalie's

Natalie's Portrait


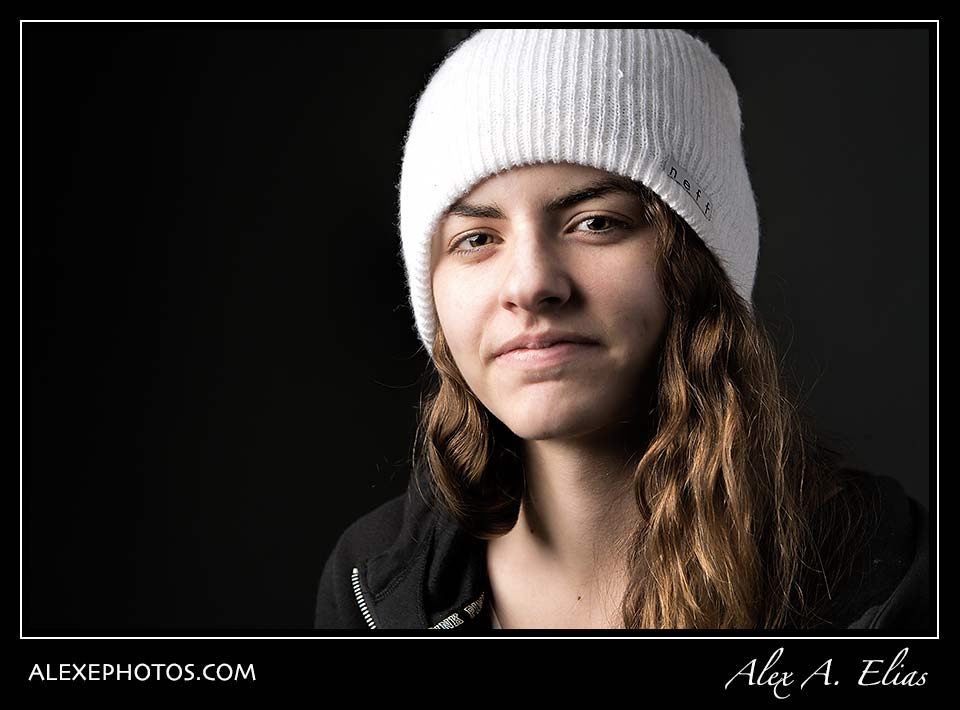
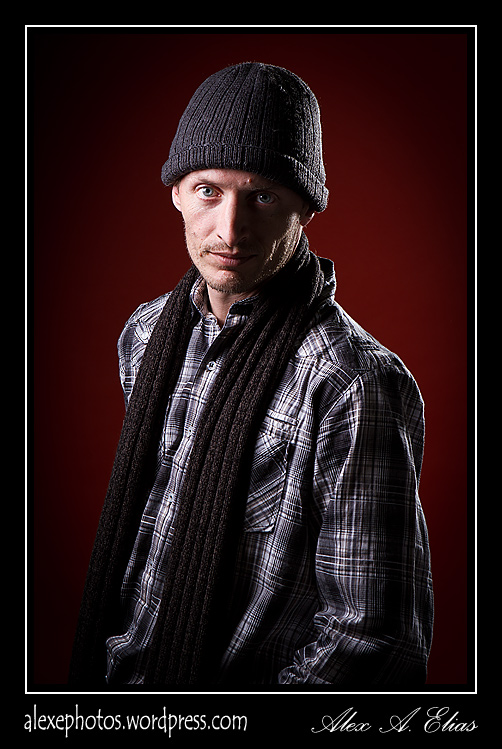
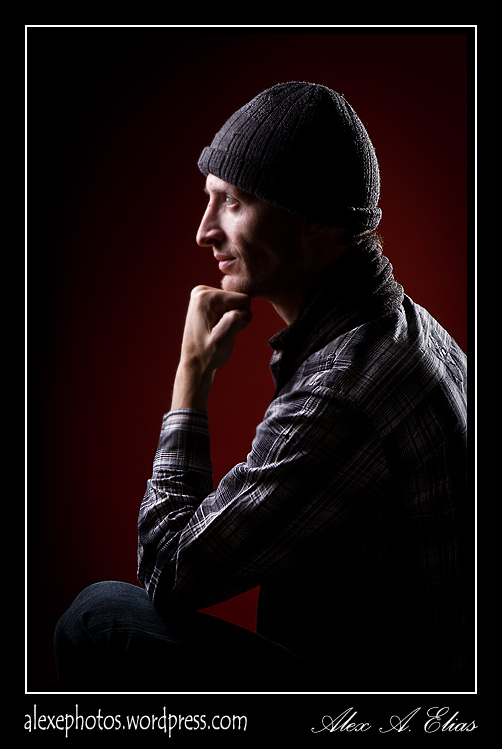
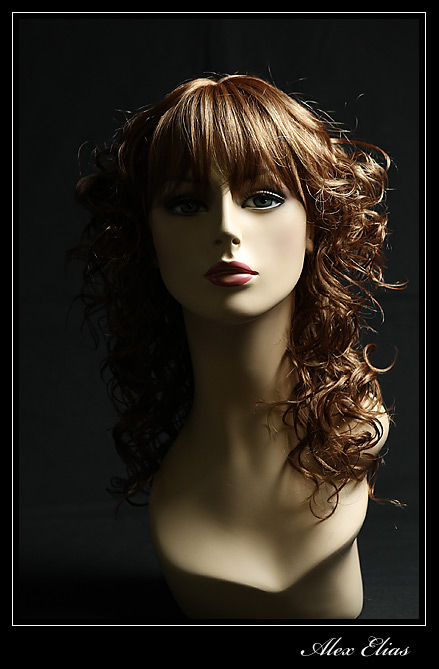
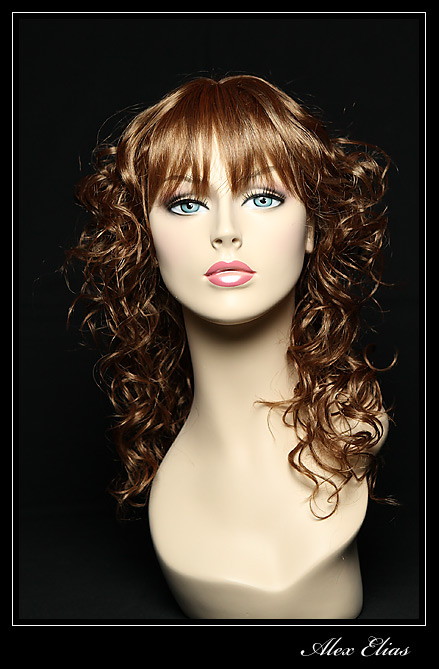
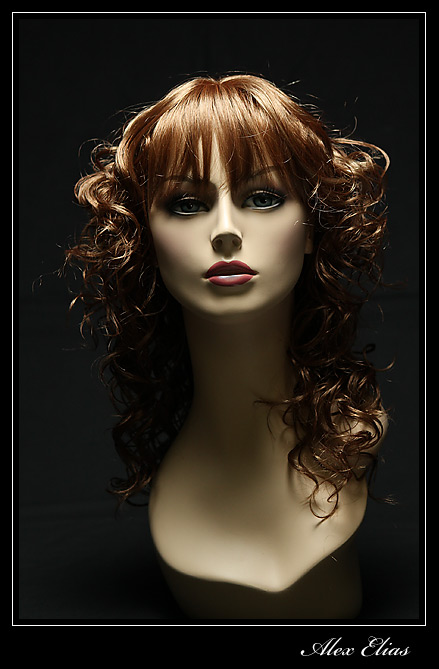
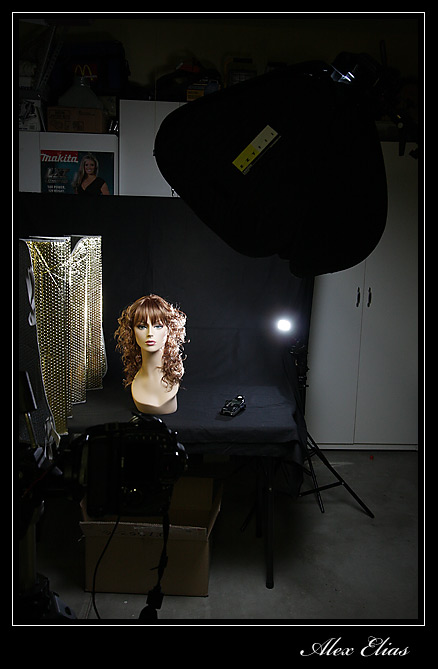
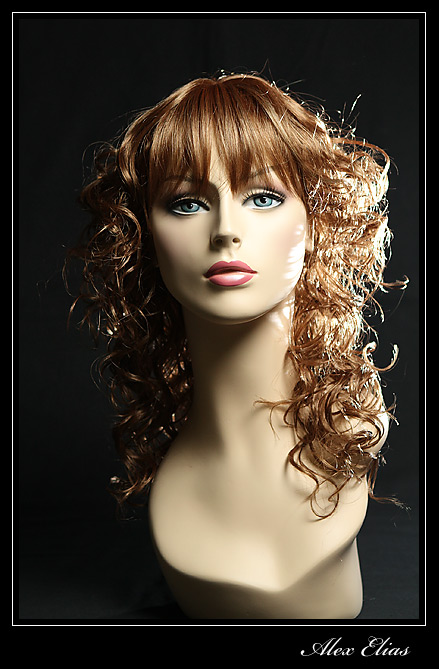
This last portrait here shares the same lighting concept of the first one with the exeption of … You guess right, a rim light coming from camera right behind the subject. “In relation to the subject the light was positioned at about 2PM”

Since he was not rearing a cute fuzzy white hat like she was. I wanted a bit of separation between the dark background and his dark hair, and that light did exactly that.

Dani's Portrait

Advertisement

A dash of color.

I recently took some pictures of Kassandra. Las night I revisit some of the images and decided to try something different. Since she often change her hair color and look, I decides to add a DASH OF COLOR to it and I came up with this image.

The original image was taken  with a Canon 5D Mrk III set at ISO 100 and speed of 200. White balance was manually set at 5600K. The lens is Canon EF 70-200 f2.8 IS L set a f9. The light is from a Paul Buff Einstein E640 and a 36″ Octa with a grid positioned very close to her face at 90 Deg and as a rim light I used a Canon EXII 430 set to manual mode. Black background and everything was triggered with pocket wizards.

Nothing extraordinary or new in concept, but fun and different. I did this playing around with layers and blending modes on Photoshop.  When I can’t sleep, I find it therapeutical to do some edits or watch  tutorials that will teach me some new photoshop tricks and techniques.

Adding a DASH OF COLOR to an image every now and then could be fun. I like the result. I will keep on playing with this idea and see if I can come up with something else along the lines.

#dash of color

Touch of Color

Dash of Color


Picture of the day. Painting with light II

Here are a few more images done with an LED flashlight. The basic idea an camera settings are the same as in my previous post https://alexephotos.com/2011/11/08/photo-of-the-day-painting-with-light/

Again thanks for looking and following the blog.

Make sure to ask any questions you might have, or if you have any comments or ideas feel free to post them.

Regards,

Alex Elias

Click on  image to enlarge.

Photo of the day. Painting with light.

Today I wanted to light a simple set up with a very simple light source… an LED flash light. The basic idea is that the LED will be the only source of light, therefore a tripod is a must (unless you can hold the camera for 30″ with one hand and use the flash light with the other)

One of the many benefits of lighting something in this manner is that the light can be place exactly where you want it, allowing for great freedom and creativity, also there is no expenses to do this kind of photography aside from the tripod and LED flashlight. The one drawback and quite frankly not a big deal, is that each picture is unique and there is no way to recreate it.

The camera was a Canon 7D and the lens a Canon EF 27-70 f2.8L. I set the camera to manual everything (including focus) ISO 100, F10, 30″ exposure manual,  color temp to 10000K . Focus on your subject while you have light and then turn off the autofocus, that way the camera will not go crazy trying to focus in the dark. Make sure that whatever available light you might have on the room does not record on the sensor (do a test shot and make sure the image must be black) after that, get ready to shoot a lot of frames and make the necessary changes as you go.

Here is one picture I just did. If you like to know more details about the LED and how to use it so it does not appear in the frame while lighting, let me know and I’ll make another post with different images and a few more details on how to light the scene.

Thanks for looking.

Comments and suggestions are welcome.

Alex Elias

Click on image to see full size.

Still photography and feathering the light

My 3 Yr old son decided to yank this flower from the plant ( along with 12 other of it’s kind ) Since he go every flower with had there I wanted to at least have a picture of one before it die.

The backdrop I used was a piece of burlap that I thought it was going to work well. After a few shots I realized I did not liked the backdrop at all and started to pull it back to make it darker due to light fall off. Next thing you know I run out of space and I was able to still see the burlap pretty clearly.   After a few tries I figured that pulling the light farther away did help the background but the flower went darker in the same relation, so I went back to the original light position, added a black back drop and changed the angle of the light and that did the trick. Basically the light was not aiming directly at the flower, it was position in a way were the light traveled in front of the flower from right to left therefore feathering the light  it created a beautiful wrapping light that brought the flower back to life and added some depth and contrast.

Equipment Used.

Canon 7D with Canon Es 24-70 2.8L the camera was set at ISO 200 F5.6 I used one travelite 750 with a 36″x48″ Photoflex soft box (I did not need such a large box for this but it was up on the stand already) the light was triggered via Pocket wizard.

This is the end result

This picture was with the original set up.

And this two images show the light in relation to the flower.

Self portrait.

I just got two new color backdrops (bright orange and blue) and wanted to give them a test drive to see what they look like in real life. When I got home the only available live subject that doesn’t mind being photographed for about an hour was me so here it is.

I wanted to darken the bright orange to look deeper. I set the background about 6 feet behind me for the light to fall off quickly.  The main light was a Travelite 750 with a 2×2 Lastolite Easy Box I wanted soft light but not as soft as the 4×6 Photoflex softbox I was thinking of using at first ( the lastolite being a lot smaller and silver inside has a more punchy light) as a secondary light (edge light) I also used a Travelite 750 with an 11″ reflector and a 20Deg  grid for a very harsh and directional light, later on I added a third light for the background and that was a Canon 580EXII that I fit with a small snoot to have a bit of direction.

The main light was on the left side besides me not quite at 90 deg to the camera but way past 45deg  (almost like side lighting) and aiming down at about 45deg. The second light (rim light) was on the far right side behind (make sure when you place this light it does not create glare) I got both lights set to F11 the camera is my Canon 7D with the Canon EF 24-70  2.8 L  ISO 100 and the white balance was set at 5800K.

The one picture I’m pulling my Vampire tooth was shot with a Canon EF-S 10-22 the lighting was the same but the backdrop was a lot closer to me.

PS: for the profile image is best if the subject is not sitting right in line with the center of the light source. Use the edges better. 

Thanks for looking

Alex Elias

Portrait and lighting effects.


I received my mew model on the mail a few days ago (a $29 female head and shoulders plus $15 brunette wig) her name is Niky and today I shot a series of pictures showing the effects of light placing.

First I took a picture of the whole set up showing where the light was in relation to Niky and then photographed her 3 times using that set up.  The first picture shows only the light with a gold reflector, next image is with a silver reflector  and no reflector on the last picture. Then repeated the process every time I changed the location of the light. This will show what one can do with just one light. I might do the same later with 2 and 3 lights but I figure this can be useful for someone starting out in a budget.

  This post is not a lighting class by any means, it’s more like an aid. The first pictures are taken at 90 Deg to the left of Niky (our right ) and then I worked my way around to be right in front of  her face and also one series of pictures is right from up above her head. The pictures taken wtih the second flash as a hair light should be taken with either a grid or snoot or some modifier since they are to harsh for my taste, also the one with the flash on the camera lower right is perhaps not the best location (hight wise) I like the ones with the flash on camera top left corner better. 

To keep things consistent the camera ( Canon 7D ) was sitting on a tripod, and shot with a cable release, the lens ( Canon EF 24-70 f2.8 L ) set to manual focus. White balance was fixed at 6200K. The flash ( Canon 580 EXII ) was set to manual as well and kept at the same distance on the different lighting settings. The soft box used is a 24″x24″ Lastolite Eazy box mounted on a Manfroto stand and an avenger boom, the flash was trigger with a Pocket wizard mini and a Flex. Last, to be kind with the flash I set the ISO to 800, f4 and 250 speed.

I sure hope this could assist someone, I wanted to do this for a while not only to share some experience with others but of course to learn more and practice. So far I can see that Niky has no chance against a person but you can’t beat it for staying still and not blinking while shooting. It is a great tool to practice a number of lighting effects, best $50 I spent in a while.

Regards

Alex Elias

 PS: Comments, questions or thoughts are welcome and appreciated.