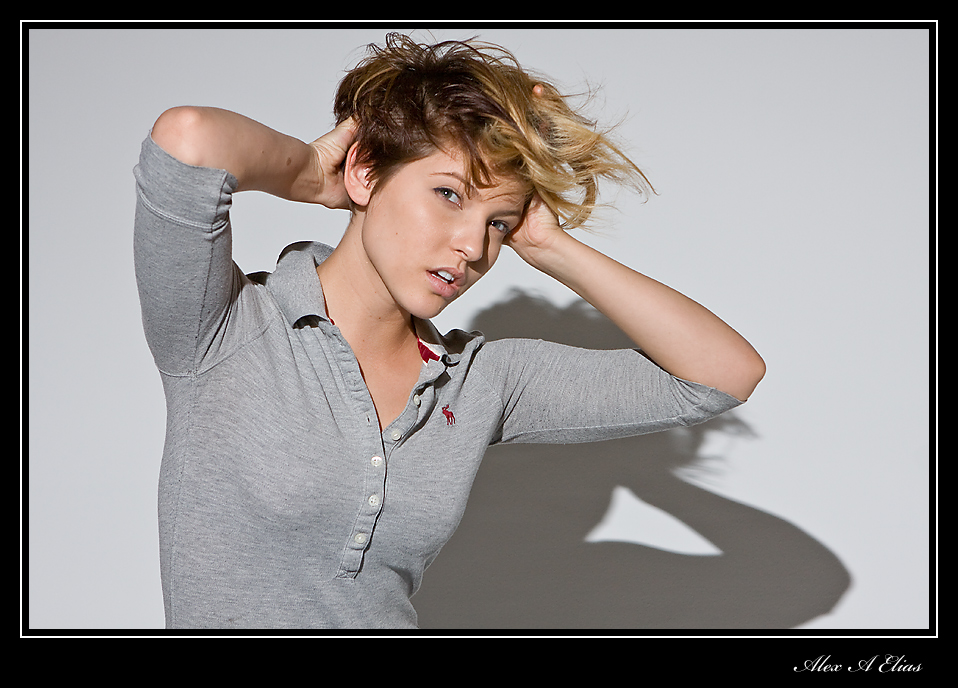
I came accross a picture of Avatar in a photo magazine and decided to emulate it. I made few different ones and this is the one that I kept.
There were quite a few layers to make this image and it was pretty fun. I’m talking my wife into it now.
![]()

I came accross a picture of Avatar in a photo magazine and decided to emulate it. I made few different ones and this is the one that I kept.
There were quite a few layers to make this image and it was pretty fun. I’m talking my wife into it now.
![]()

Back in December 2009 Pocket Wizard run a US meet up tour hosted by Mark Wallace. First of all, thanks to Pocket Wizard for showing firsthand how capable this devises are; it was great being able to use them in real life scenarios. As expected this little creatures did not disappoint anyone within the over 100 photographers that were there.
Mark Wallace is a top-notch instructor. His demonstration was outstanding, with plenty of information and knowledge not only about the use of Pocket Wizards but lighting and other techniques in general. The 6 or so hours of the class went by really fast shooting live models in a great studio location. The lay out was nothing but perfect, there were 5 stations with models and different lighting and backgrounds.
Pocket Wizards are not Pocket Change, but are worth the investment. I just got one Mini TT1 and two Flex’s and I’m looking to buy a third Flex as soon as budget allows it to end up with a 3 light set up. It is great being able to set stands with light modifiers in a matter of minutes without the need of plugs or wires, indoor or outdoor and maintain E-TTL, the freedom and features that this system allows keeps on going on and on.
Here is a link to some highlight from the class http://www.youtube.com/snapfactory#p/a/u/1/Ea2PLp74b6E


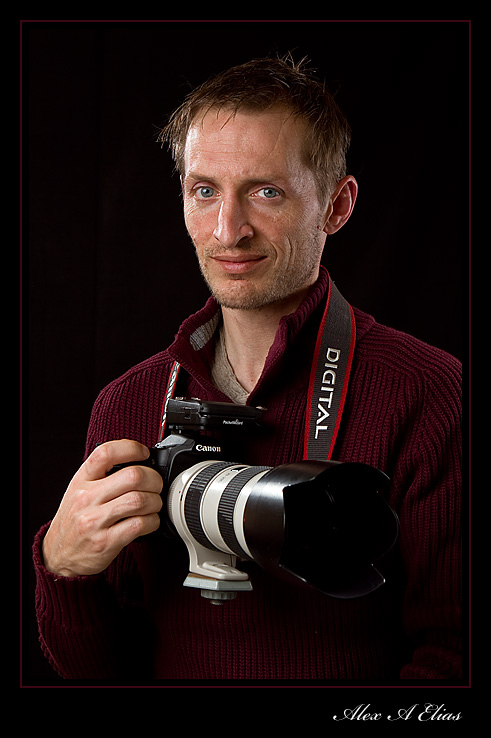
Last night when I came home from work I thought of taking some self portraits from a different angle and this is what I came up with.
I mounted a Canon EFS 10-22 f 3.5-4.5 set the camera to master to trigger the Canon 430EX II flash and the flash was set to manual power and adjusted the power to suit the image at about 1/16th. To trigger the camera I used a remote control Canon RC1.


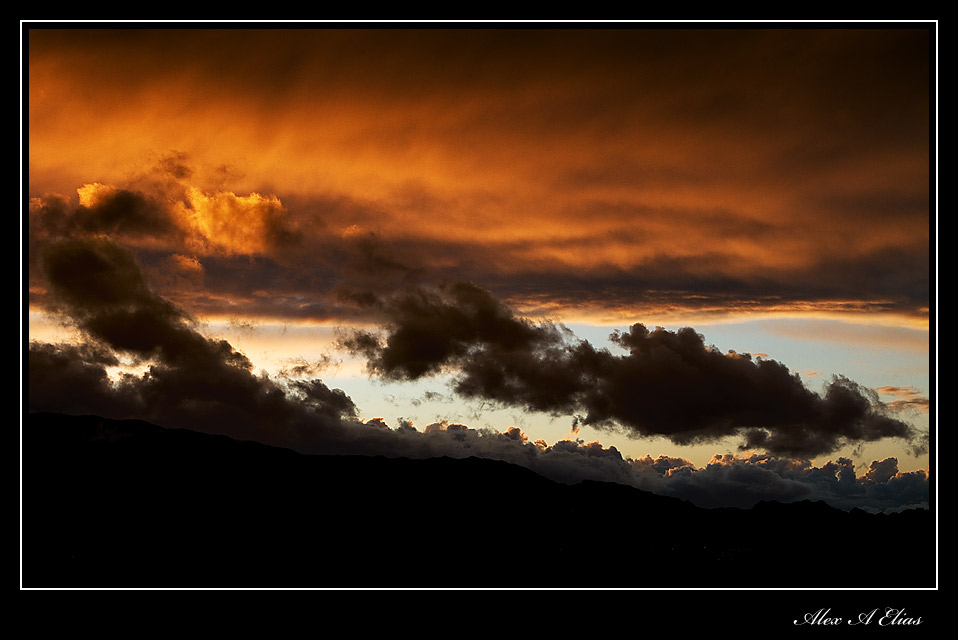
I was coming home from work and happened to have the camera with me. The sun was setting and the freeway was really bad. The decision between keep on crawling on the 14 freeway North or exit and take a few pictures was pretty easy. The decision Between color or B&W wasn’t so here are both.
Picture was taken with Canon 7D and a Canon EF 24-70mm 2.8


I just got a Canon 7D and put the 40D to rest as a back up body. My first impression of the camera is that it’s worth every dime. It truly is an improvement over the 40D, needless to say I think it was worth waiting for it as supposed of going with the 50D when it first came out.
One aspect the I really like about the new body is that I can use the flash detached from the body allowing me a lot of freedom. I have not tried it outdoor jet but indoor is doing a pretty good job so far. The other thing that is a big leap forward is the focusing system, it is faster and more accurate so far and it has a lot more choices (which I’m learning still) and although it has tons of extra features those 2 are the ones that caught my attention the most so far.
This few pictures I took are with the wireless flash function. @ canon 580 EX as main and fill one to the left and one to the right and a Canon 430EXII on the back top left all worked just fine.
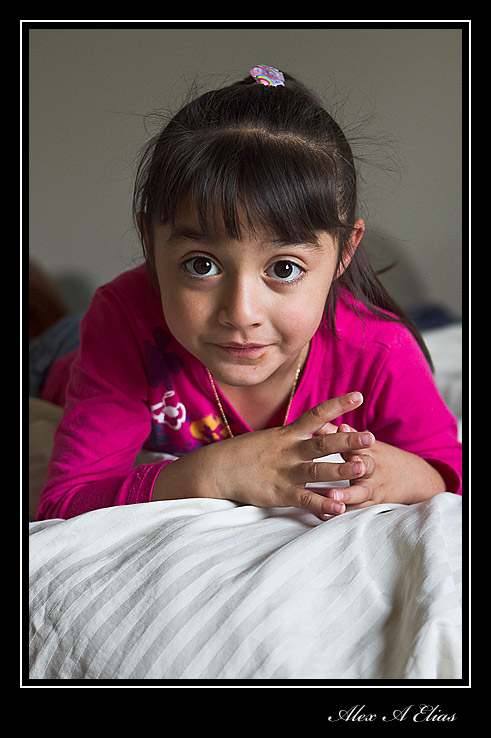
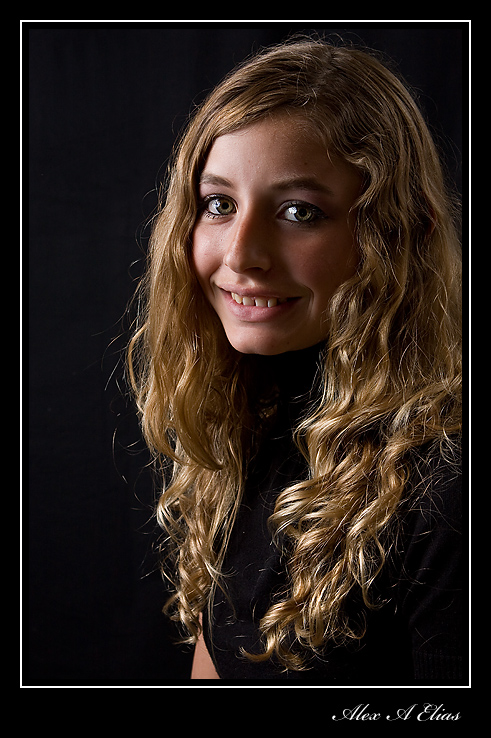
The last picture of my daughter was done with available light at a higher ISO Canon 7D and Canon EF 24-70 2.8L


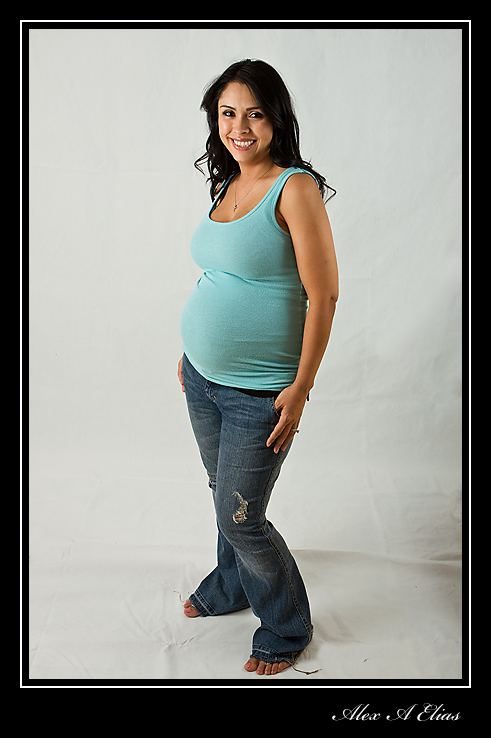
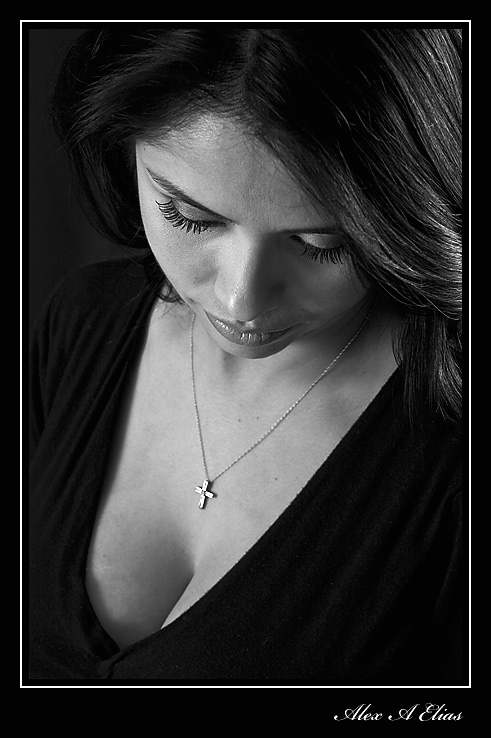
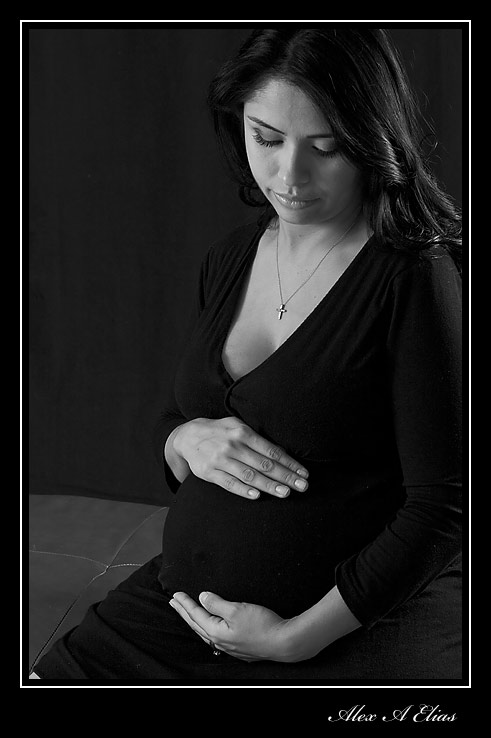
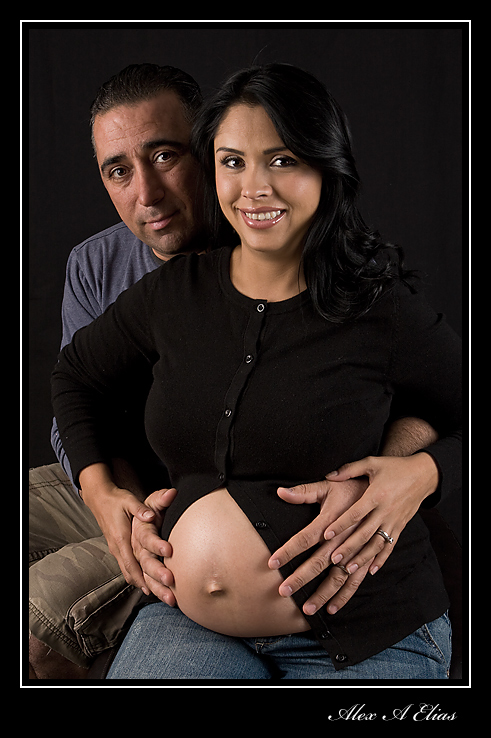
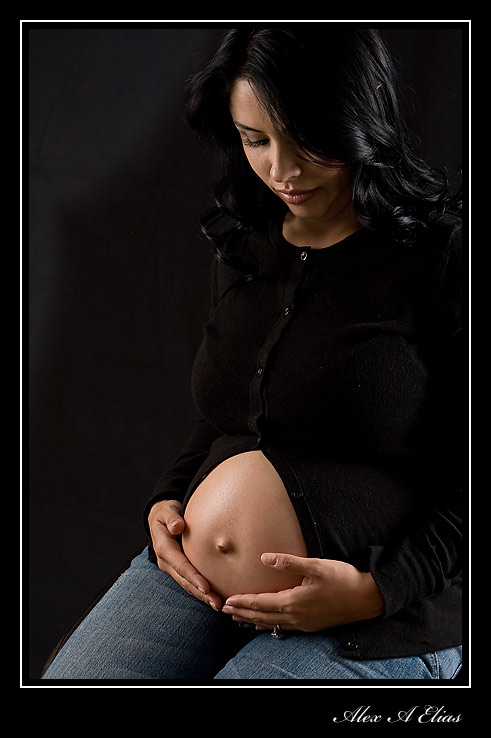
A few weeks back I was asked by a co-worker to take her pregnancy pictures. It was a fun session, I guess the fact that we work together made it easier on both of us, besides she is easy to photograph and was not be afraid of the camera. Her idea was to keep it simple; we used a pretty basic black and white back grounds and 2 lights ( Canon 580 EX as a main Canon 430 EXII as a fill and a Canon 580 EXII as the master) 2 umbrellas and that was about it. The lense used was 90% a Canon EF 24-70 mm 2.8 and for the rest the Canon EFS 10-22 mm 4-5.6 and Canon EF 70-200 mm 2.8 IS.


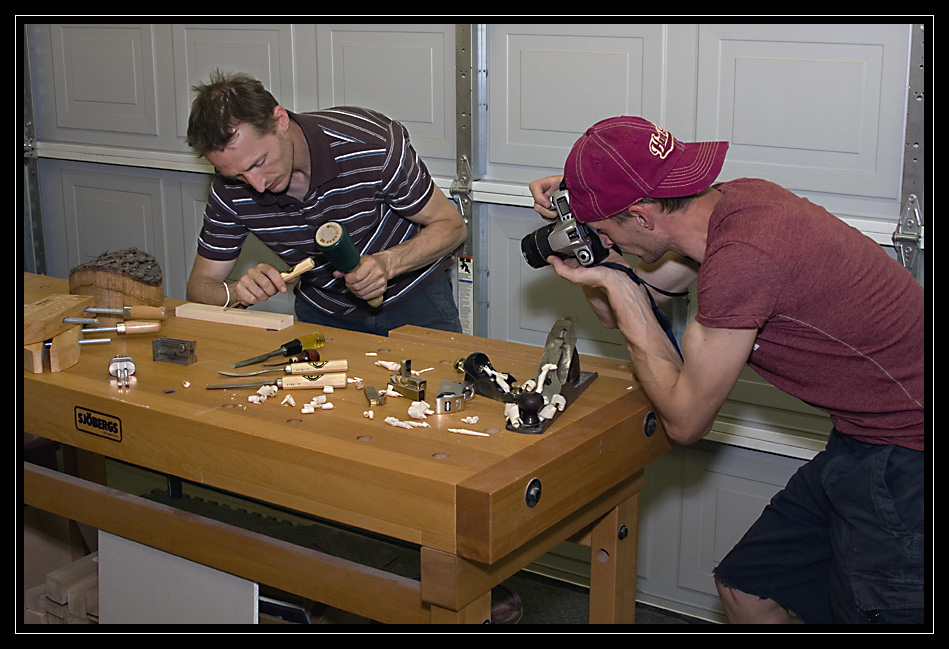
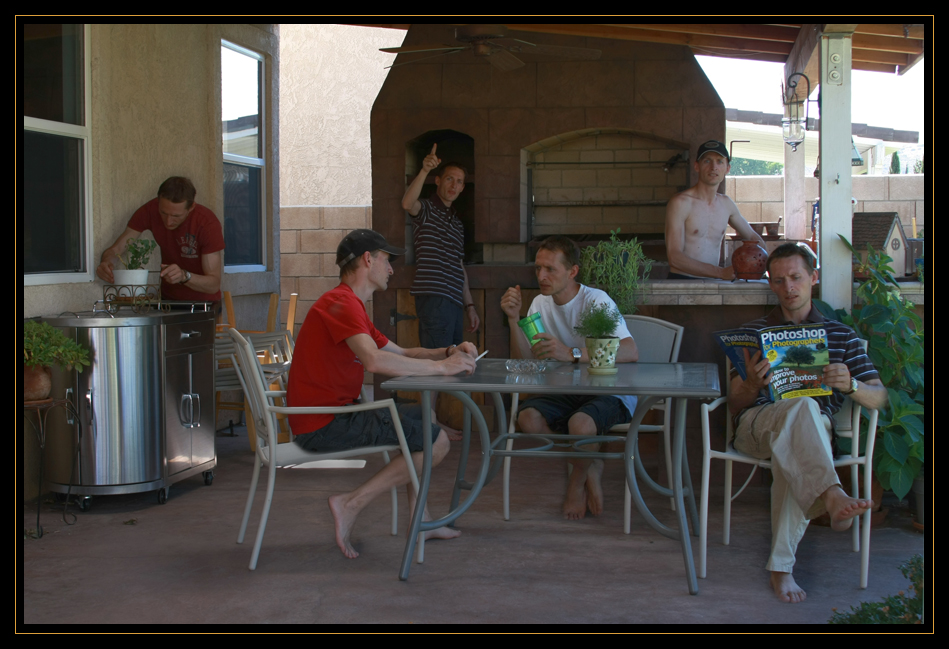
A while back I made a few images of my daughter all over the place, then I made a few of my self and then when I showed them to a friend the kids liked the idea and they want to be part of the fun.
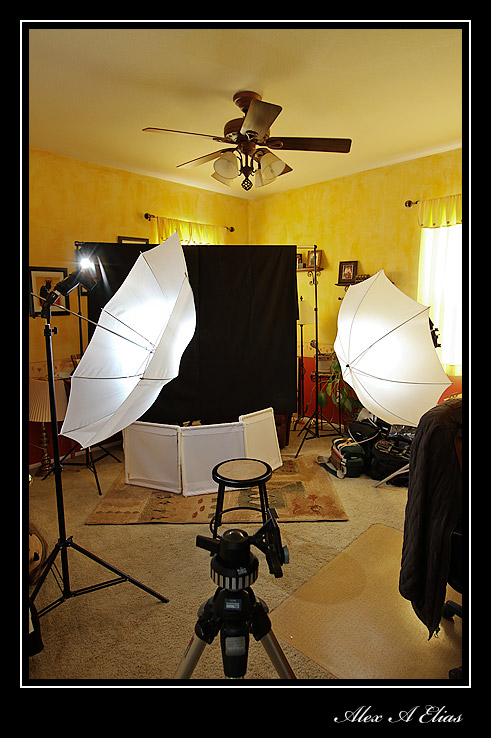
There are a numbers of different things that can be done and I guess creativity is the limit. The basic concept to make this kind of images is to set the camera on a tripod, and go manual, all manual, exposure and focusing. The other key is to make sure nothing moves between shots aside from the main person changing locations.
For the sake of making the process easier it’s best if the main subject does not overlap itself on any frames (if the person is going to be on the image twice do not set it where the one in the foreground is blocking the one in the background) once the set up is done shoot all the images and sack them in Photoshop it’s easier to start with 2 images to have a feeling of it and keep it growing from there.
Let’s say you have 3 images in Photoshop already, you should have 3 layers now select the bottom layer first, uncheck the two top ones to reveal the bottom one and make a selection of the person outline; it does not have to be the most precise, as a matter of fact my selection is well (within reason) outside the person (it blends better in most cases with the other layers on top) once you have the selection done and active reveal the two layers above it select the top one and click delete, then select the middle layer and click delete again, now you should see the image on the bottom layer and that should do it for that layer. Now move to the middle layer and do the same process. The more layers the more fun.
If you are confused by now, I would not blame you since I usually have a hard time explaining the process but in reality it’s a lot simpler than it looks like.


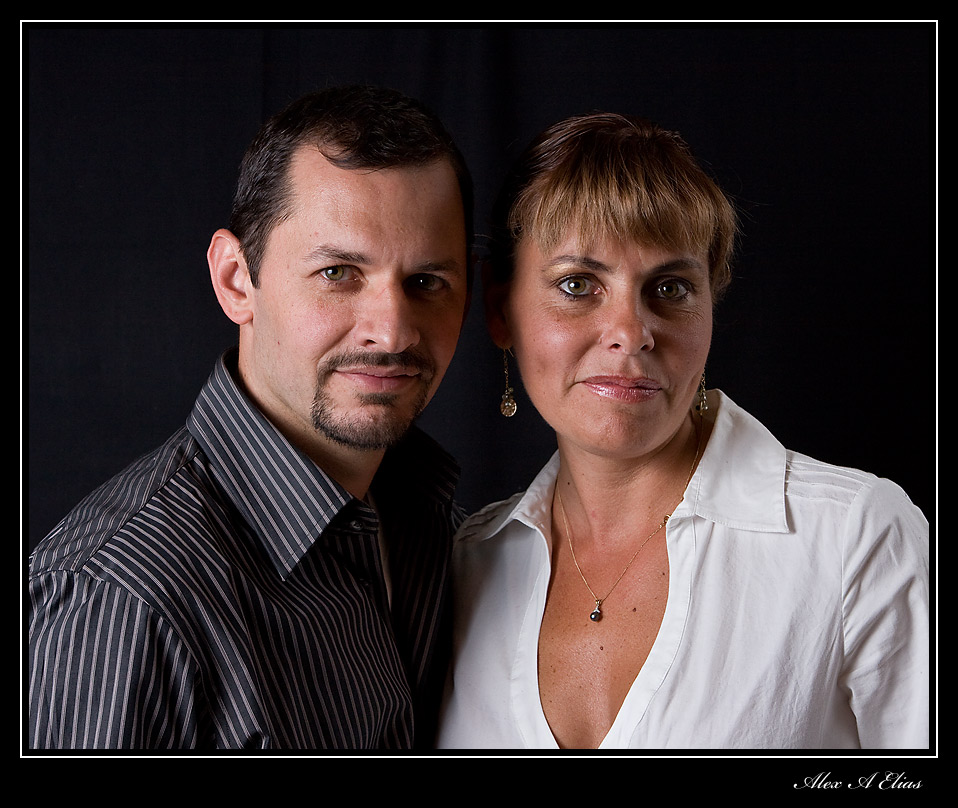
Last weekend we gather at the house and took a few family pictures. The set up was pretty simplistic 2 Canon Speedlights with umbrellas (left and right) with a third speedlight on the camera shoe as the master. Plan good old black background and the lens was a Canon 24-70 F2.8 .
Here are some of the pictures.


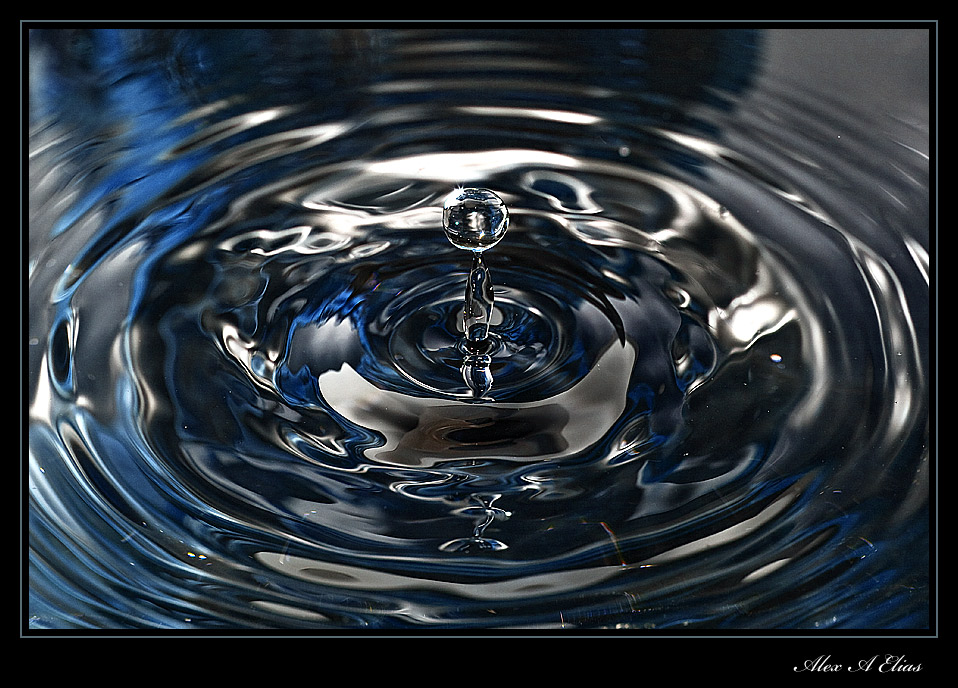

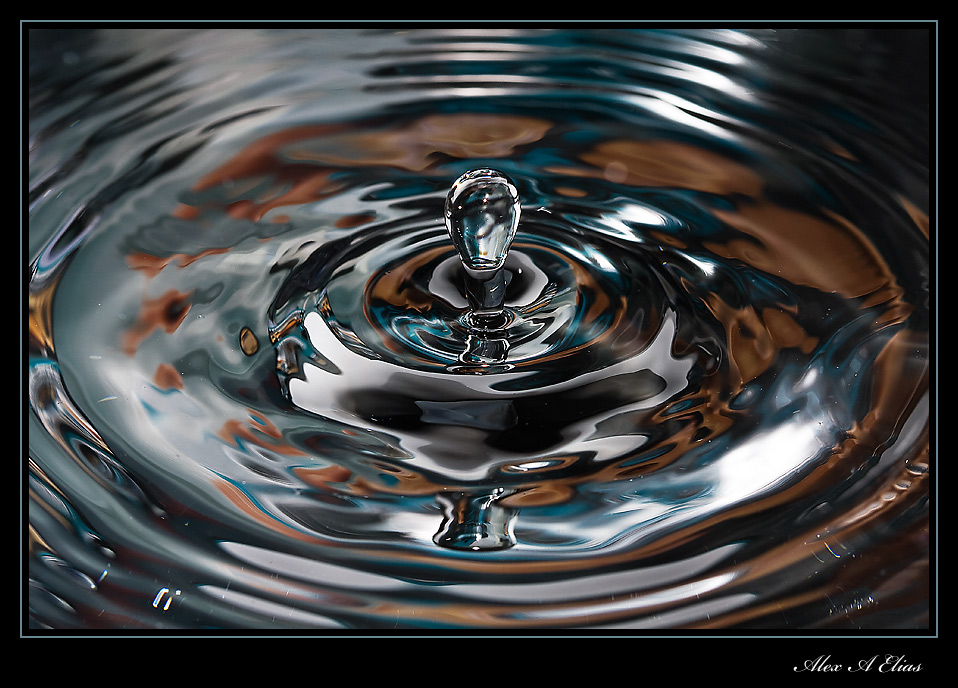
This are some images I took a while ago. I first tried this with milk and the results was not what I was hoping for. Lighting was not the best. The idea on this type of photography, aside of capturing the water droplet properly and sharp, is to have nice reflections and some highlights and shadows created by the ripples, thus enhancing the image by adding some depth.
Front lighting is not the way to approach this topic, unless you are looking for a flat looking image without any sence of relief. The way to do it (one of them at least) is to use one or more lights detached from the camera. In this set up I used one light; if you can imagine a clock I was at 12 the water droplet was the center of the clock and the flash was at 4 pointing at the droplets.
The set up was quite simple. Pirex with water on a low table. The camera was sitting on the tripod in front of the pirex I was using a Canon EF 100mm f2.8 Macro lens set at f8 for good depth of field. Speed was at 200 and ISO at 100. The key to illuminate the water here is the flash, that is what is going to not only light the frame but also freeze the action; therefore I set the Canon 580EXII to manual and lower the power to let say 1/64th and from there find the right output up or down until you have the right exposure.
What I used for the droplets was an empty gallon of milk with some water in it, poke the smallest hole you can (I mean this) you just want a constant drip and that is it. Hung it from something above the pirex (about 30 inches) that way you don’t have to be holding the gallon. Doing this will keep the source of water still and the droplet will hit the same place every time. Set your lens to manual and focus the place where the droplet hits, and the rest is fun time.
If you have a cable release it going to be useful. Also, the amount of water on the pirex and the distance of the water gallon to the pirex will determine the shape of the splash.
For more fun. If you change the withe balance to Tungsten the picture will turn out blue. If you put a color source in the back of the pirex and point the flash to it the relection of it will light up the water creating some interesting results.
I’ll upload some more with the different colors if anyone care.
Thanks for looknig.
Alex
PS: If you have any questions or comments free free to post or share your thoughts.

Today I got a new lens for my camera. Canon 24-70 F2.8 L . Needless to say I’m pretty happy since I wanted it for a while. The sad part is that my next day off is on Wednesday “4 days of waiting” to much for me. So my test subject was my great family.
Today it was Sebastian’s first popsicle so while he was having fun and enjoying new things I was doing the same behind the camera, having fun and enjoying my new lens.
Lighting was not the best so I cranked up the ISO to 800 F4.0 speed at 1/50th and used two light sources one Canon 580EXII pointed to the ceiling with the white card up (nothing high fashion) and a Canon 430EXII as a slave pointed to the corner of the wall and ceiling to the right. The flashes where set at +2/3 . One thing to notice is that the slave sis not make a huge difference on the image, it did help but with just one light one can get great results as well.
Alex Elias