
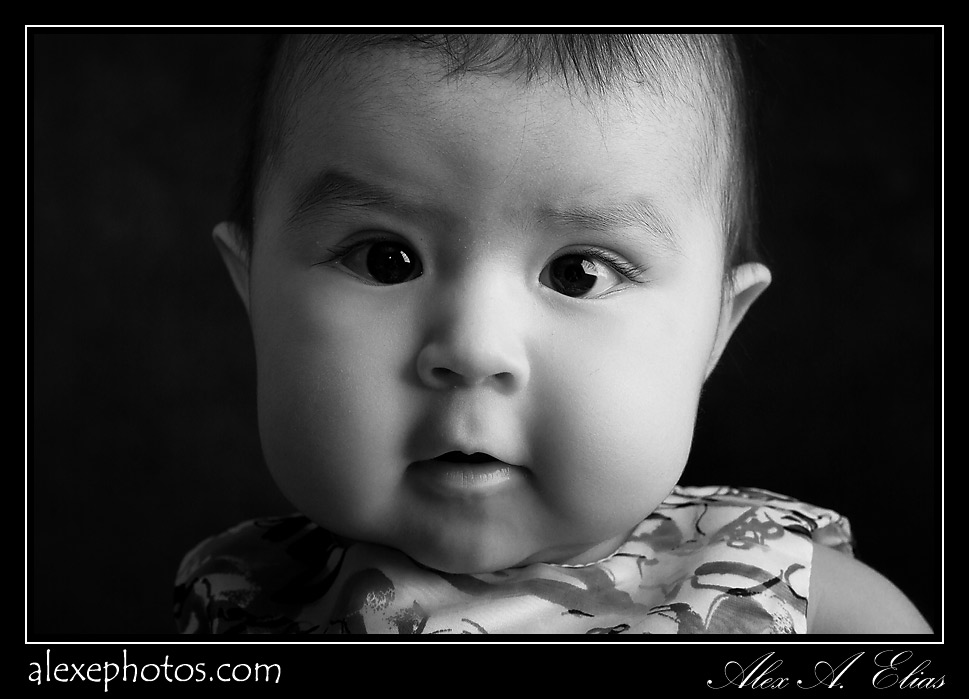
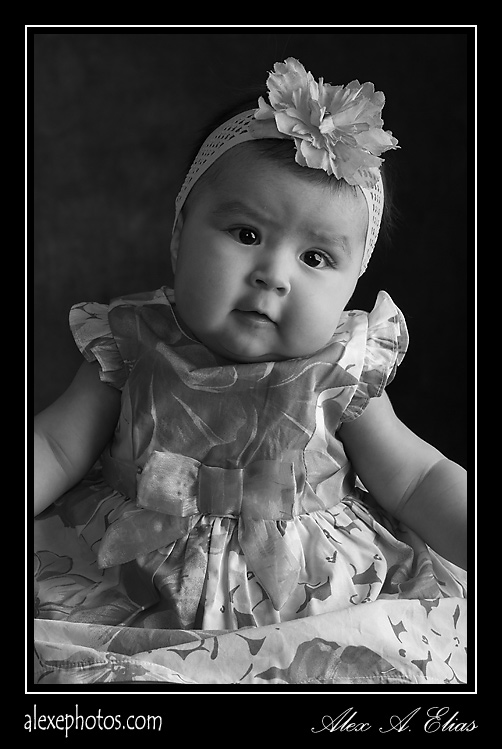
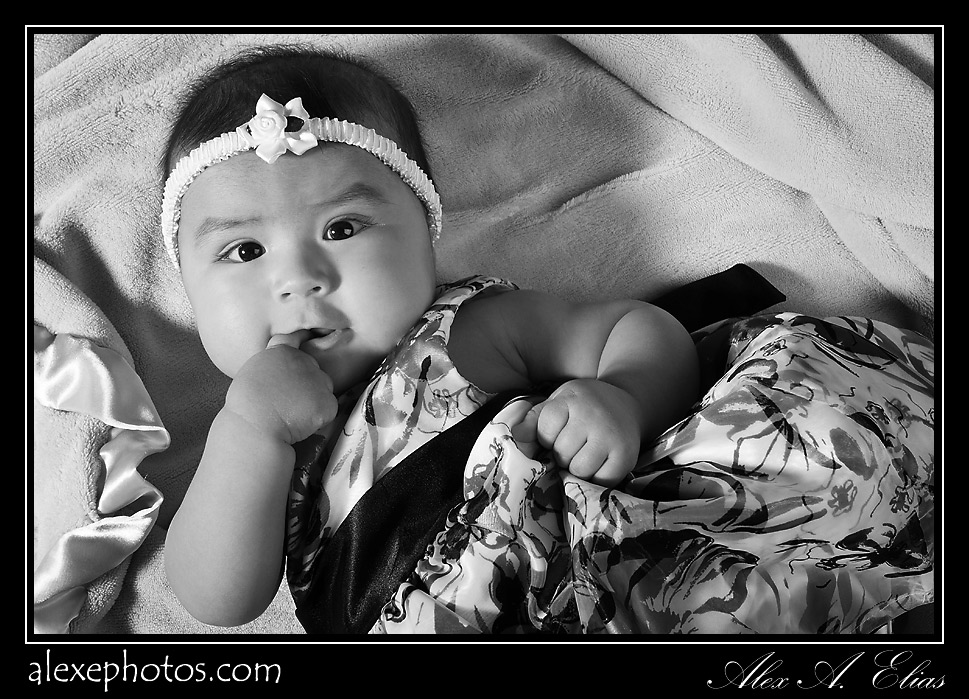
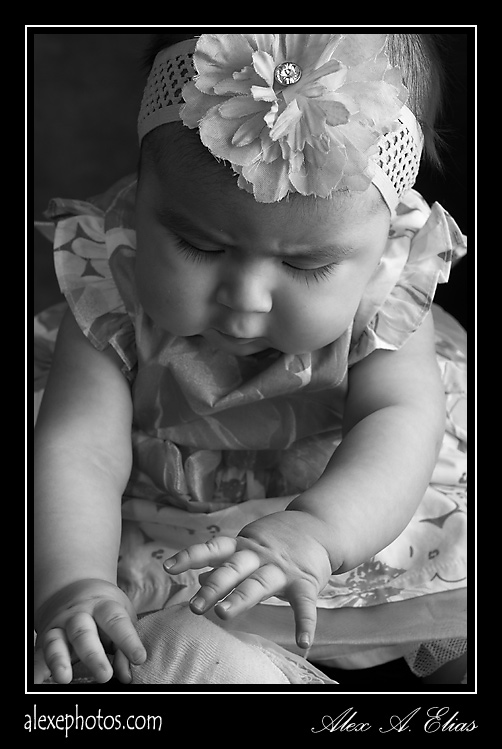
Here are some pictures we did a few weeks back of baby Sophia. Her mom ask for either black and withe or sepia/toned images. I did a little bit of both to see what style she likes better. I think this baby would look great with any finish.
Portraits


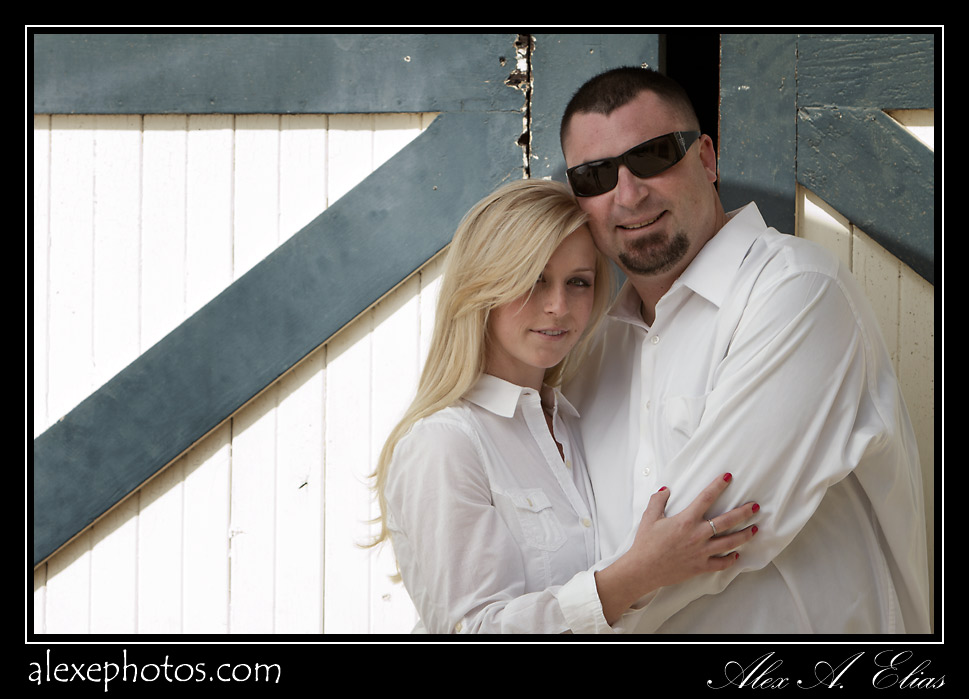
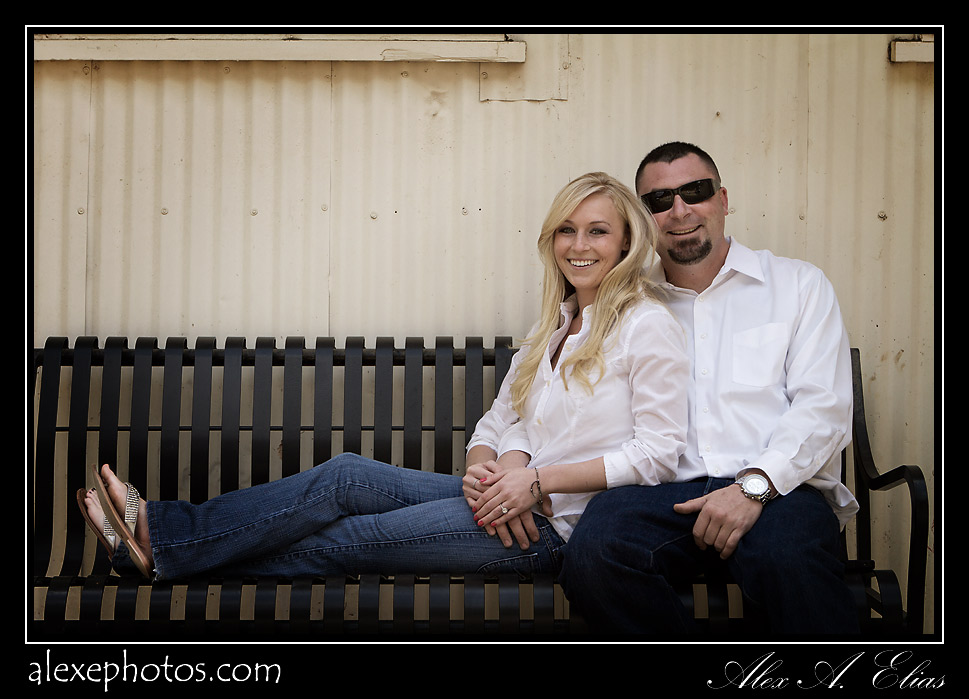
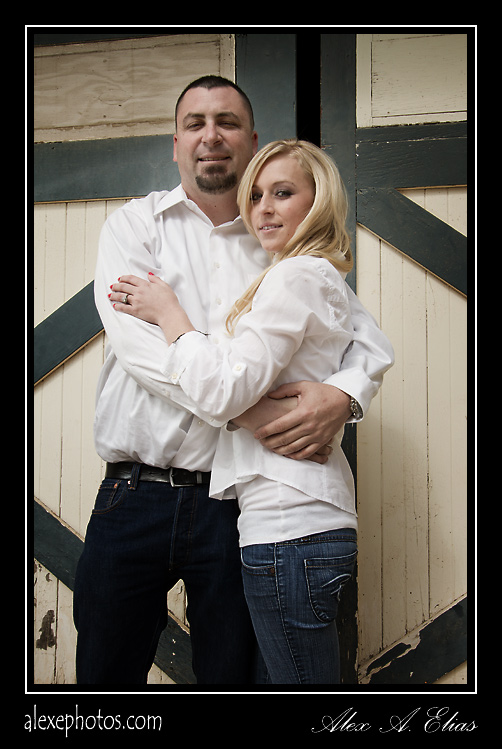
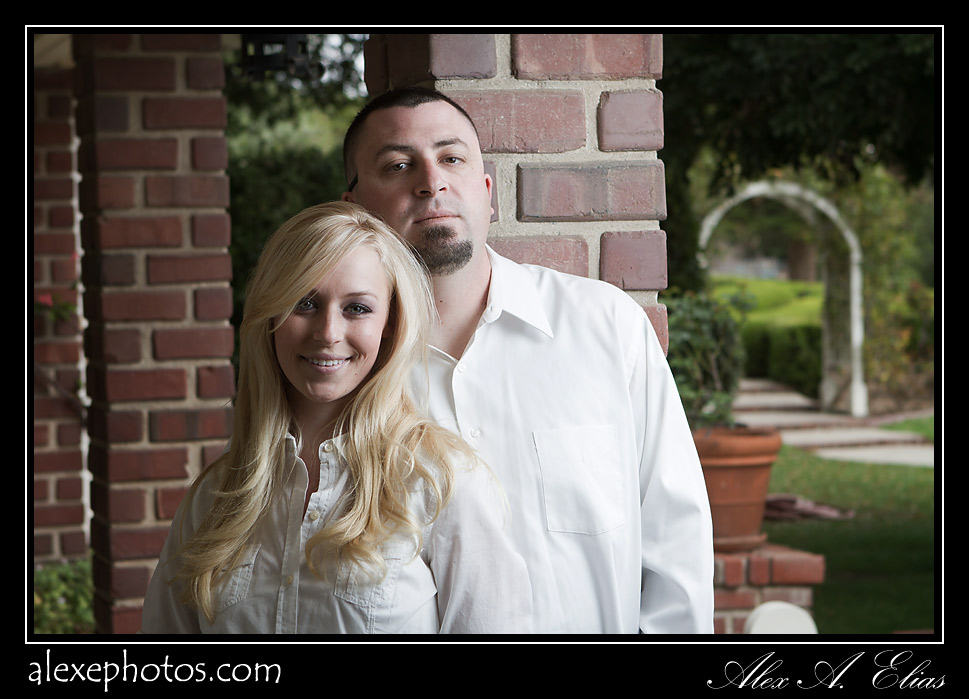
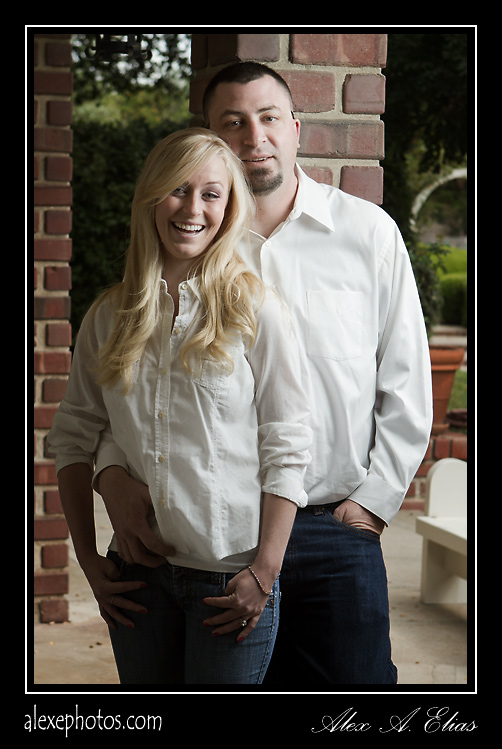
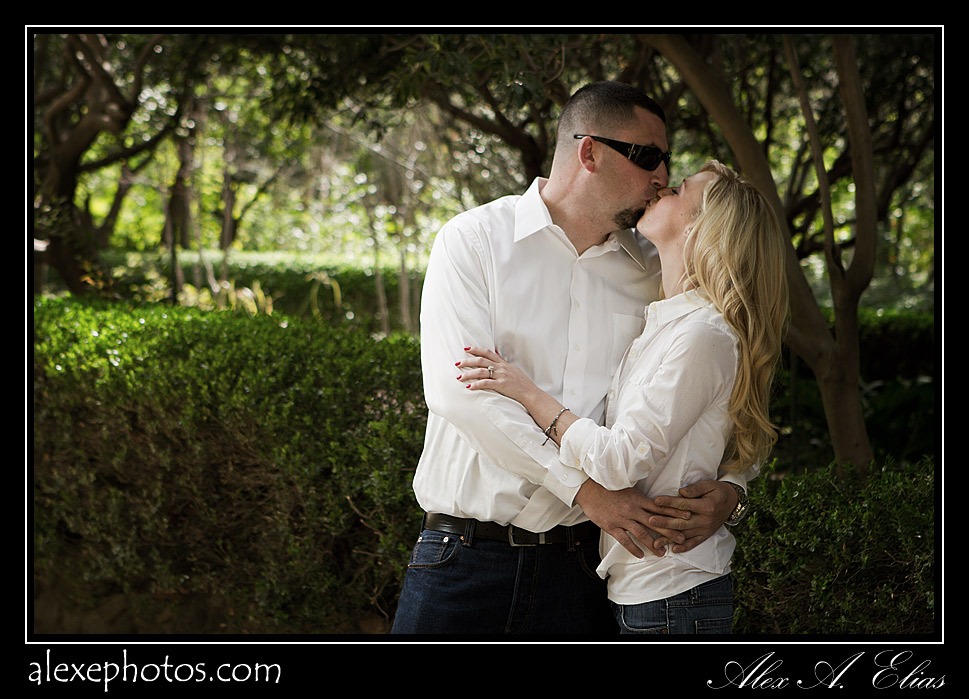
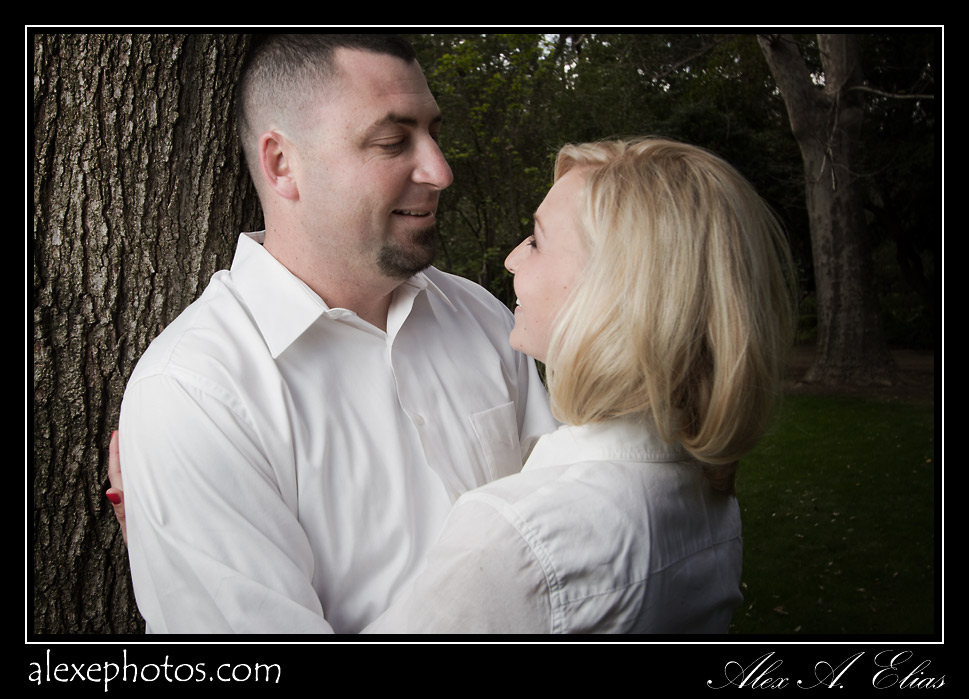
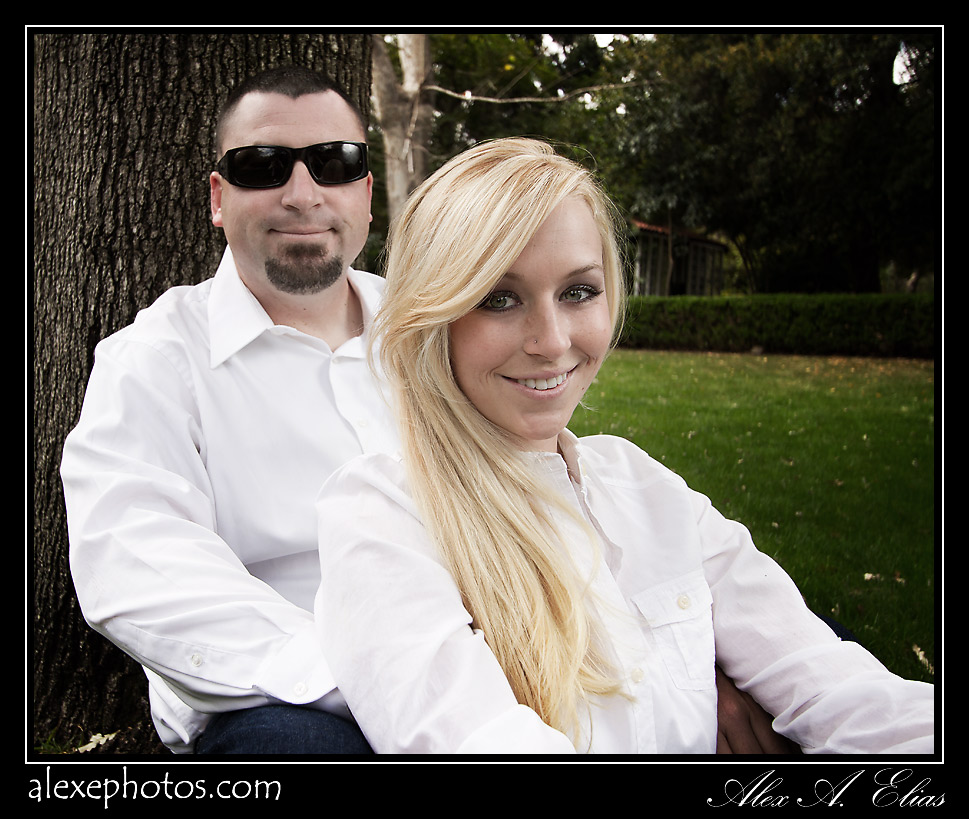
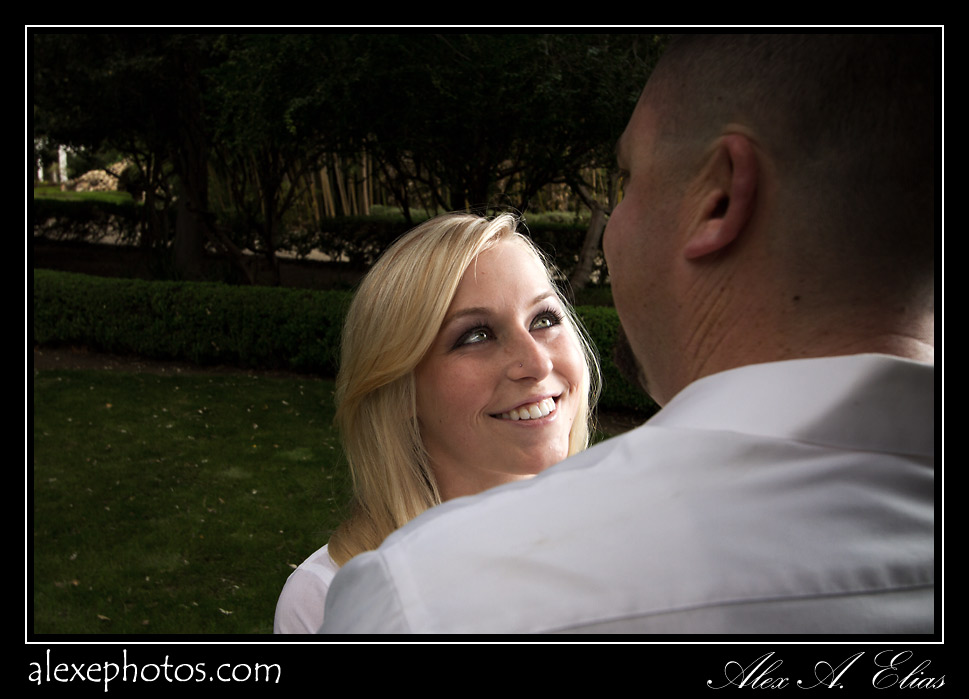
Engagement Pictures
Two weeks ago I met with Lexy and Aaron to shoot their engagement pictures. They are an awesome young couple with a fantastic future. The place they picked for the shoot was terrific, and although time was limited we had a great time taking the pictures.
Thanks for the opportunity.
Alex Elias


Share this:

Pandora’s Box. Portrait and lighting technique
Lately I have being playing with light a bit more than usual. After spending some time reading the Strobist blog http://strobist.blogspot.com/ I came up with the urge to make a different kind of photo using some found knowledge and an old idea I had running on my head for a while.
I wanted to have the light to come from an unusual place like in this picture here
http://photo.net/photodb/photo?photo_id=7397779&size=lg
but I wanted a bit more of ambient light around like in this image here
keeping up with the concept and making some lighting modifications I came up with this image here.
Click on image to enlarge

Pandora's box
On this picture, I got just enough ambient light to show around the room but not so much to detract from the the main idea of a mystery box. It took a bit of playing around with the position and power of the lights (3 of them) and some reflections until I got what I considered a decent balance of ambient light and flash light. So this is how I created this picture.
The camera was a Canon 7D with a 24-70mm f2.8L set at 30mm and f5.6, Speed 60th, ISO 125. The flashes were triggered with Pocket Wizard Mini TT1 and the AC3 controller and 3 Pocket wizards Flex TT5 one on each zone A,B,C for fine control.
The first test picture I took was with the accent lampt by itself to determine the ambient light, color temp and exposure I needed for that side of the frame. Then I set up a Canon 580 EX @ 1/64 power with a snoot to shoot a controlled beam of light over the boxes on the side table ( I ended up gelling the flash with 3/4 CTO to compensate with the existing light from the lamp) and then set the camera withe balance to 4600K. The next step was to power Pandora’s box. There I put a Canon 430EXII @ 1/16 of its power with a 1/2 cut CTO and covered it with a paper towel to diffuse the light, also I lined the back of the lid box with foil to reflect light into her face from the front since the single light coming from the box was giving me some weird spooky shadows that I did not care for. With those two lights I ended up getting something like this picture bellow and that was the look I was trying to avoid. To dark around her.
Click on image to enlarge.

That is when the third light comes in to the rescue and made all the difference. Another Canon 580EXII at 1/16 power, set at 50mm and gelled with a 3/4 CTO cut . The placement of this light is the trickiest one since is the one that is doing a double duty (I learned this one at the strobist site on the lighting 102 files) this is the light that opened up the shadows on the left side to the frame (primary function) but it also created the reflection (specular light) on the headboard that defined and separated her head from an otherwise black background. The tricky part about this light is that it has to hit the headboard to create the reflection behind your models head and that reflection is what creates the separation we are looking for. Therefore the angle of the light and the one from the camera have to coincide in the right place and that is when the fine tuning part comes in. I will write a post about that but make sure you check the strobist site to get more details about it.
The one last thing that helped me wrap this image was the reflection of the lamp on the lid (I really like that) I have a few without it and I did not liked them as much, the lid looked to dark and flat. Small details like that make a big difference at the end.
Here is a quick image that shows up the set up I used to get this image done.
Click on image to enlarge.

Thanks for stooping by and as usual I’d appreciate any comments or questions. I also welcome ideas for new topics.
Regards
Alex Elias
PS: A bigger and special thanks to my wife that put up with my ideas when coming tired from work.
Share this:

Photo of the day. Portraits inside of a picture frame.
Nothing new that hasn’t been done before but always fun to try. In a effort to organize my garage I stumbled into this frame and decided to use it for some fun portrait session.
The set up was not complicate it at all just a backdrop and a picture frame that I hung with a wire to the necessary eight. The light source was a Travelite 750 with a Photoflex 36″x48″ softbox place to camera left and a White reflector to the right to fill in the shadows. The Camera was a Canon 7D and the lens a Canon EfS 10-22 set a the 10mm end (to make it more cartoon looking, since I wasn’t going for the glamour look) set the lens at f 5.6. Iso was 100 speed 250 and custom white balance. The flash was triggered with a Pocket Wizard Mini TT1 and a Flex TT5.
The one thing I would recommend to make the post work simpler is to try to keep the frame as square as possible to the camera’s sensor plane to avoid to much distortions, specially working with such wide angle lens. Once in Photoshop I corrected the perspective to make the frame square before I did anything else. once the frame was square enough I made a selection of the subject put it on it’s on layer, created a new background and added a drop shadow the the bottom right side of the frame.
Thanks for looking and as always do not hesitate to comment or ask any questions, I do appreciate both.
Regards
Alex
Click on image to see larger.


Share this:

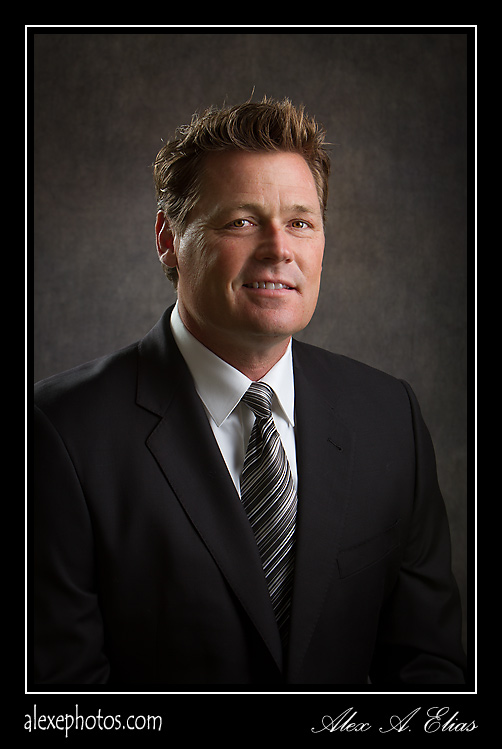
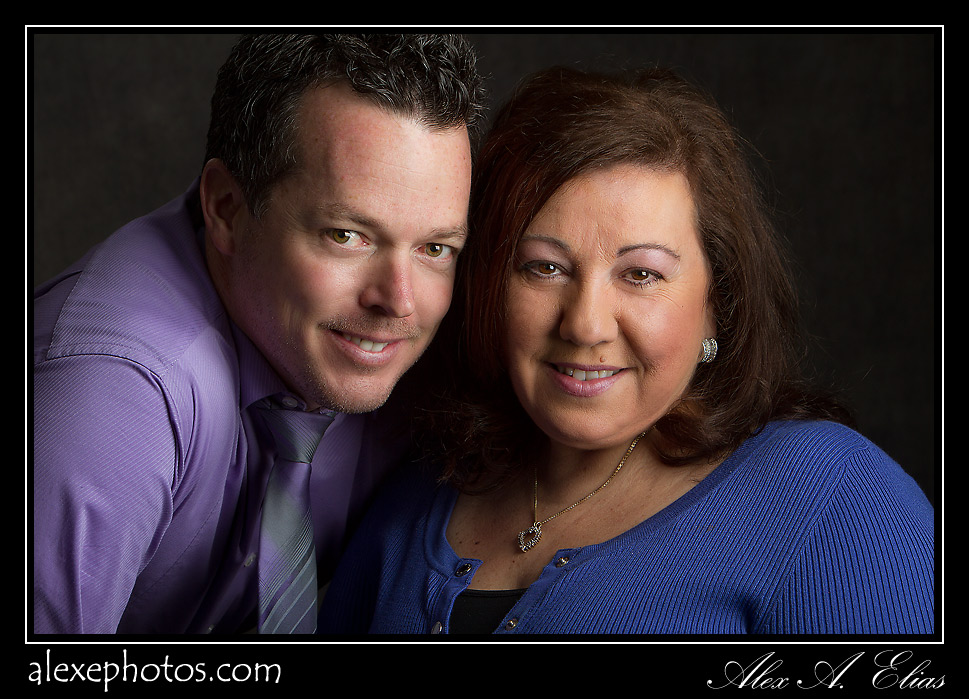
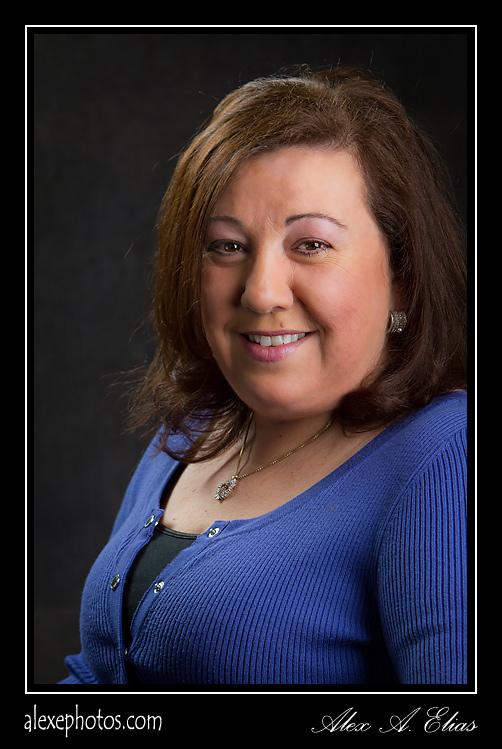
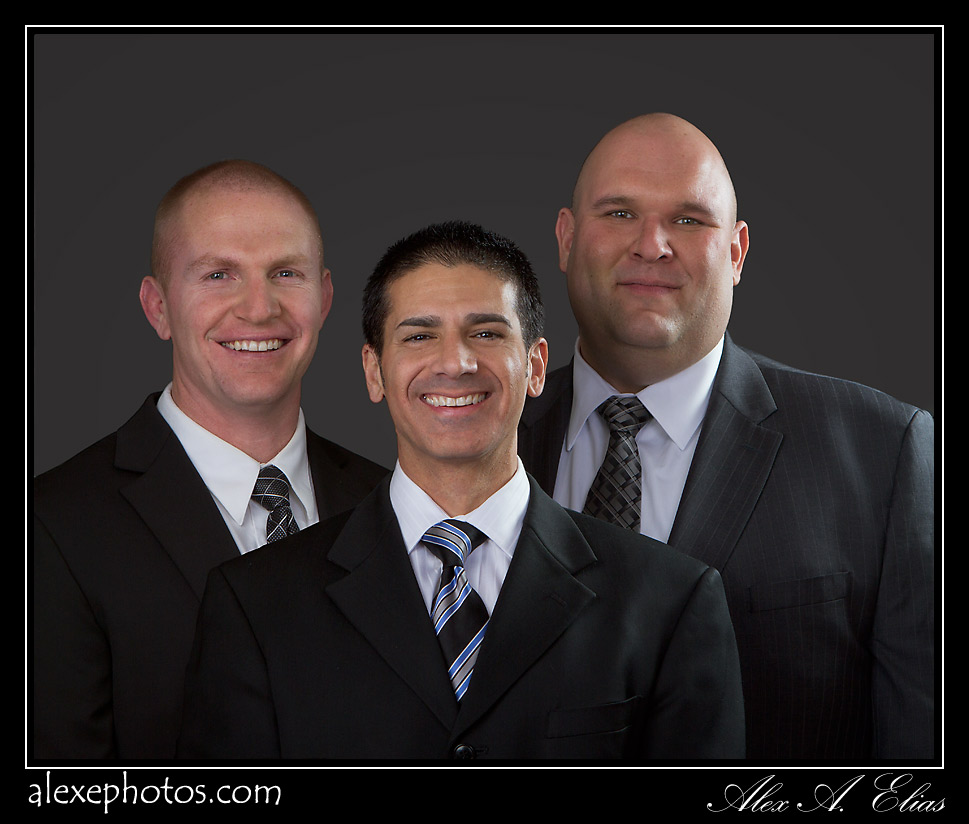
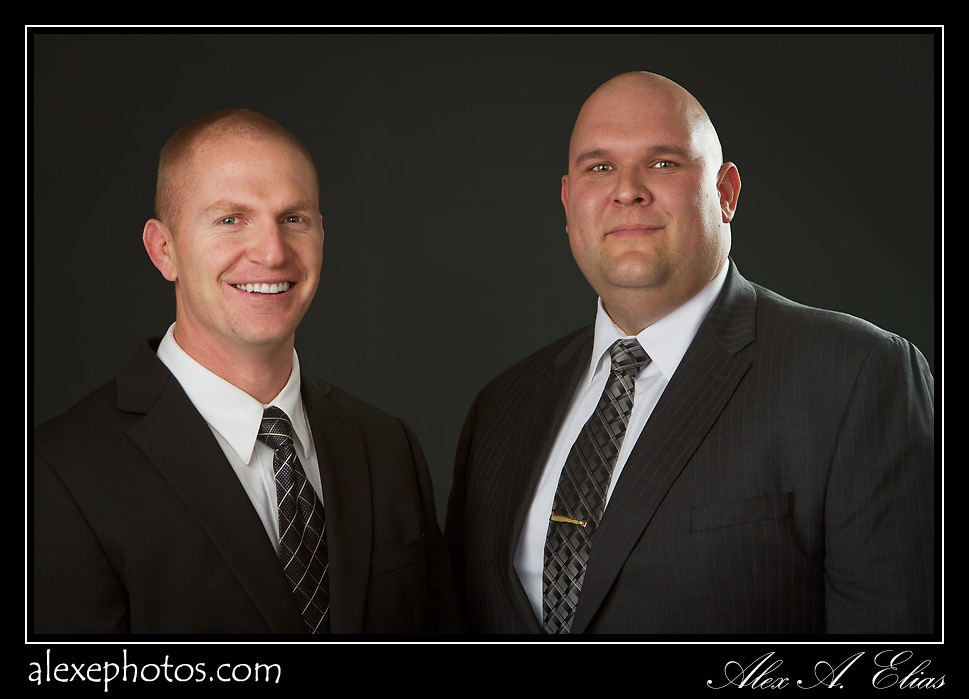
Portrait session for Remax agents.
This is from a December shoot I did for some Remax agents. As always it was nice to be there, there agents are fun, outgoing and great to work with.
Thanks for trusting me with your pictures.
Brian is always great to work with. No wonder he is constantly with the top producers of the office. He is very knowledgeable of the market, charismatic, and very focus when it comes to work. Despite he likes to have lots of fun when taking pictures.

Click to see larger


Share this:

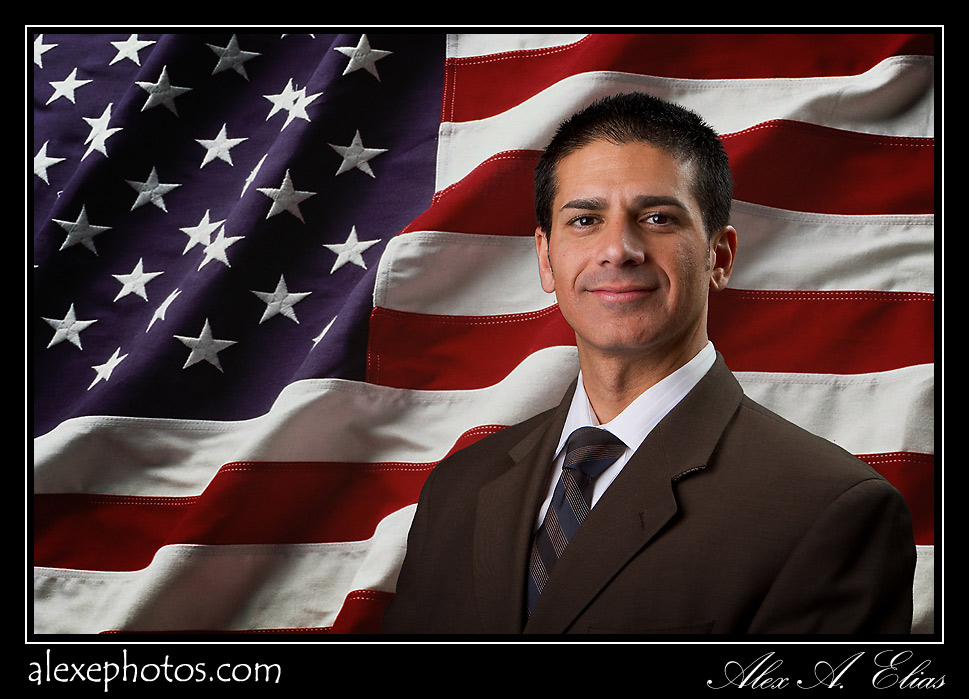
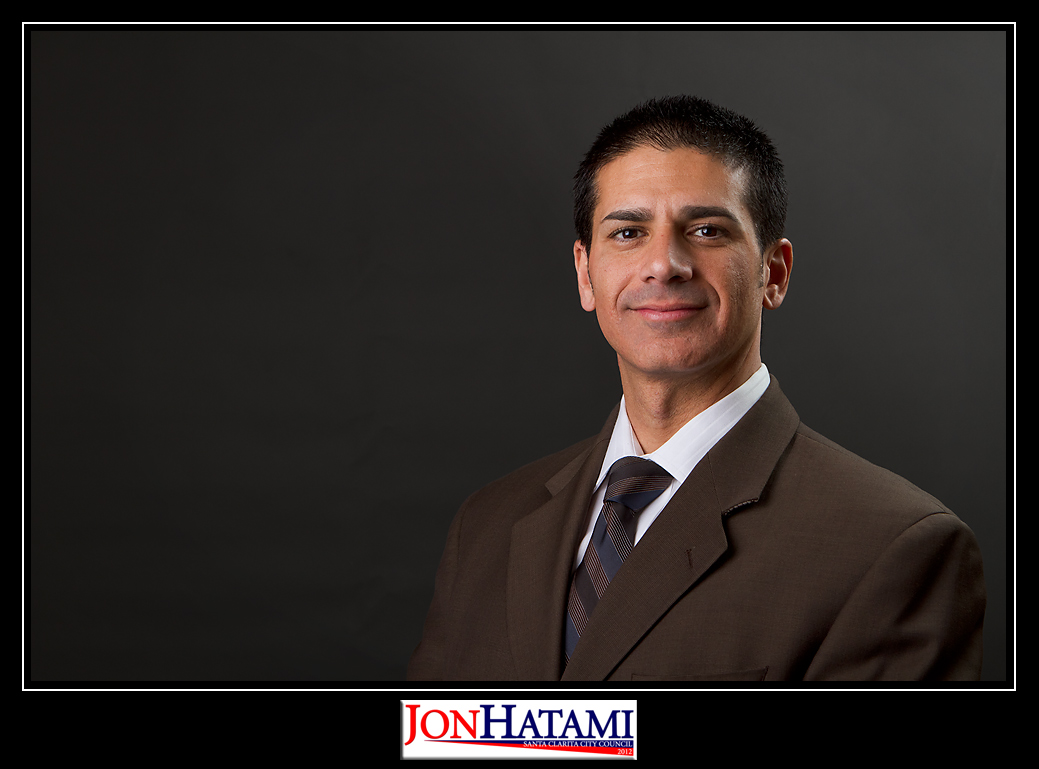
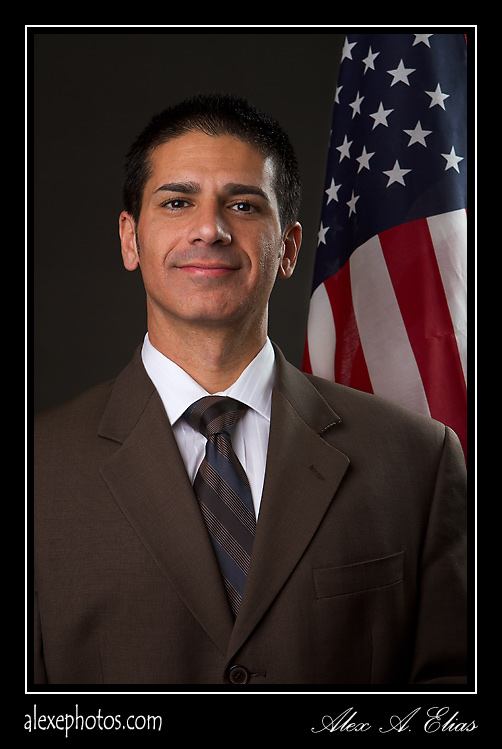
Jon Hatami Portrait session.
Jon Hatami is running for district attorney for the city of Santa Clarita. I was fortunate to meet with him and take the pictures for his campaign. I must say that he is a true gentleman; between him, his wife and his entire team made me feel welcome to his house and doing the shoot was a pleasure.
I wish you a very successful run and a bright future as Santa Clarita District Attorney.
Click here to Visit Jon Hatami’s page


Share this:

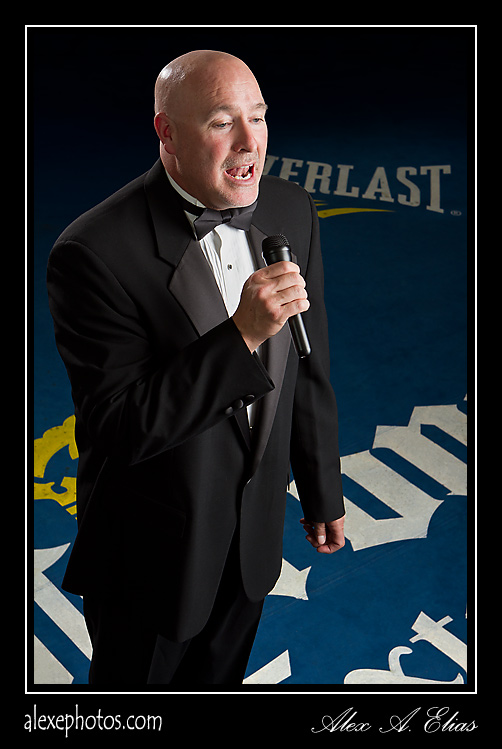
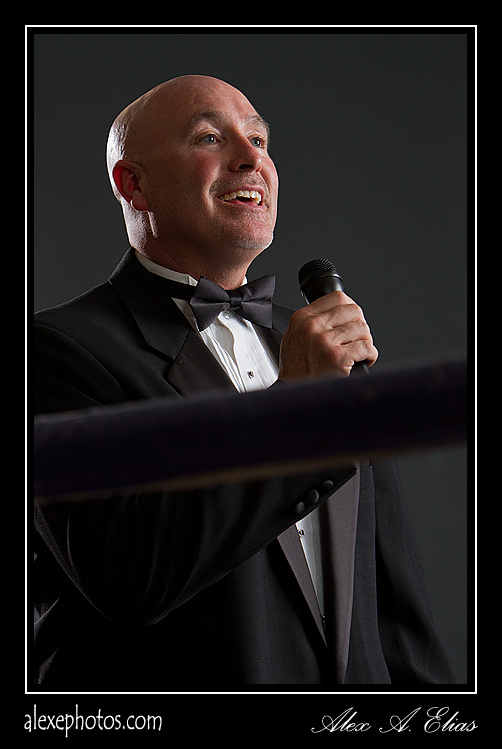
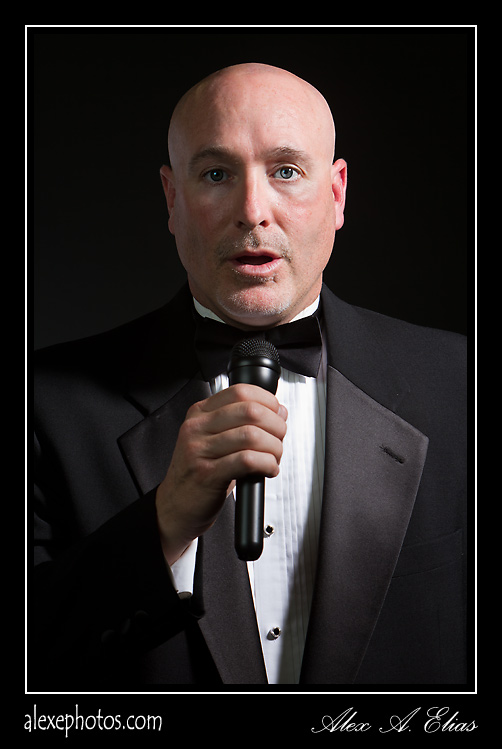
Ring announcer portraits.
Here are a few portraits I took of my friend Barrie. He’s a ring announcer for boxing and MMA. We did a quick session at a local boxing gym to update his business cars and some other media. The place was challenging due to very limited space and unattractive surroundings but it ended up working out.
The equipment used for the shot was a Canon 7D with a Canon EF 24-70 f 2.8L and Canon EF 70-200 f 2.8 is L The lighting was primarely done with 2 Calumet travelite 750, one was fitted with a Photoflex 48×36 soft box and the other one with an 11″ reflector with a 30 deg honeycomb grid. For some other shots I added a third light source, a 24″x24″ Lastolite soft box with a Canon 580 EXII. The lights were controlled by Pocket Wizard Mini TT1 and Flex TT5.
Thanks for looking and a special thanks to Barrie.
Click on image to see larger.
Share this:

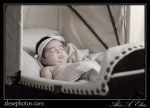
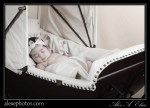
Newborn. Baby girl Pictures.
I just finished doing a shoot for a newborn baby girl. The session went great since the little one literately slept like a baby.
The set up was quite simple, I used a photography posing table to set the basket with the baby, that made it easy for moving and positioning. The lighting was done with 2 Travelites 750 one with a 11″ reflector set with a 30Deg grid for the background and the other one with a larger Photoflex softbox that was placed very close to the baby on camera’s right. On the left side of the camera as a fill light I used a Canon 580EXII with a 2×2 Lastolite softbox . All lights were triggered with Pocket Wizards Flex TT5 and a Pocket Wizard mini TT1 with the AC3 controller on the camera as the master. The camera was a Canon 7D and the two lenses for this shoot were a Canon Ef 100 macro F2.8 and as Canon Ef 24-70 f2.8L. I used the 100 macro 90% of the time for the session. I set it at f5.6 since I was looking for a rather shallower DOP.
For the post work I used Adobe Bridge to organize and tag the files with colors and stars. From there I migrated the raw files to ACR to do some adjustments and then open in Photoshop CS5 to do the last part. Here I did a few different styles in terms of post work from color, to black and white, duo tones and playing with vibrance and saturation tools.


Thanks for looking.
I welcome questions and suggestions.
Alex Elias
Share this:

Indoor family pictures.
Last week’s family shoot went out very nice nicely. Everyone was ready and very willing to make this work, specially the 6-year-old that turned out to be a star. She sure had a blast modeling and working the camera. She tried a few different looks and also did her own make up, which by the way I think she did pretty good for 6 years of age; For sure better than I would have done.
The equipment I took with me for the shoot was my Canon 7D and although I took about 5 lenses the Canon EF 24-70 2.8 L was the one that I used all the time. Lighting was done with 2 Travelites 750 triggered via pocket wizards Mini and Flex and I fitted the lights with one 48×60 photoflex Softbox for the main, and an umbrella using the bouncing side as a fill. I shot everything at F9.0 and a few at F11 for good depth of field and ISO set at 200. The one thing I must confess is that I left the white balance on auto, I forgot to lock it and now I’ll have to spend a bit of extra time in CS5 with the color correction.
Overall it was a great day and I enjoyed the session a lot.

Share this:

Picture of the day. Self family portrait.
I Just did some family portraits with a different look. (CLICK ON THE IMAGE TO SEE LARGER) Taking the pictures for the final image was not too involved (aside from the lack of cooperation from my 3 yr son) In this series of shots I used one main light to camera right ( Travelite 750 with a 36″x 48″ Photoflex soft box) on the opposite side (camera left next to the kids) I went with a 48″ x 60″ withe reflector to bounce light and fill in the shadows. I set the camera ( Canon 7D with a EF 24-70 2.8L ) at ISO 100 F9.0 and triggered the strobe with a Pocket Wizard Mini TT1 and a Flex TT5. Later in the shoot I introduced a Canon 580 EXII without diffusion as a hair light to create some separation that was also triggered with a Flex TT5. I set that flash to manual and used a Pocket Wizard AC3 to control the output of that flash.
The overall steps are not to complicated. I used 2 pieces of withe foam core from the arts supply for $5 each. On one I cut a 13″x16″ hole in the center and the other one was left intact. I First took the pictures of the kids inside the frame and then I took mine holding the board without the cut off. The rest was done in Photoshop using layers.
Thanks for looking
Alex Elias

My family

