I recently went to las Vegas with the family. We spent most of the Saturday walking around the strip and visiting some casinos. For that Saturday I loaded a Lowepro slingshot 300AW with a Canon 7D, Canon BG-E7 battery grip and 3 lenses. Canon Ef-s 10-22 Canon Ef 24-70 f 2.8 L and Canon 70-200 f 2.8 is L I also took a Canon 580 EXII for fill light, a Manfrotto 2021 tripod with a Manfrotto 498RC4 ball head. Last but not least a circular polarizer, spare batteries and memory cards.
Lens selection
There is always two sides of a story. If you are looking for the best image quality you will take primes with you. If you don’t want to be changing lenses too often or don’t like zooming in and out via your legs then a zoom will be the ticket. I had coverage from 10 to 200mm between the three lenses I took. If you wonder what one or two lenses are most suitable/ useful for a day like this the answer of course will be; it depends on your style. The Canon ef-s 10-22mm is a very good and fun lens to have but too short to be the primary lens. The Canon ef 70-200 f 2.8 is L is a fantastic lens, the one thing though, is that after hours of holding that rig around it becomes pretty heavy. The image quality is fantastic, it gives nice images from the distance and some great close ups and tight portraits. The Canon ef 24-70 f2.8 L had the most useful range for a walk around lens.
From that day kept 370 pictures and here is some data I pulled from those images.
Out of the 370 pictures 324 were taken with the Canon ef 24-70 f2.8 L 26 pictures with the Canon Ef-s 10-22 and 20 pictures with the Canon ef 70-200 f2.8 is L. The one thing to note is that some times I get lazy and I don’t swap lenses when I think I should. To help prove my point here is a bit more data. From the 324 images I got from the Canon ef 24-70 f2.8 L 89 of them were at 24mm and 57 at 70mm, nearly half the pictures taken with that lens were taken at either end. Based on my experience, if I can only carry one lens (from what I own), the Canon ef 24-70 f 2.8L would be the one. One other lens to consider, is the Canon ef 24-105 f4 is L but it seems like that would be a fantastic lens to own for something like this. Now If you are going to shoot prime lenses only, my first choice would be a 24mm second choice a 35mm and third choice a 50mm.
Shooting Mode
Shooting in manual mode always gives you the most control and creativity, at the expense of loosing great pictures along the way while playing with the settings. I enjoy shooting in manual mode as much as possible, but when walking around in a place that exposures changes every step of the way I rather switch to a mode like AV, or TV and let the camera do the heavy lifting for me. In this case AV was my choice for 80% of the day; whenever it made sense to choose manual I did.
Exposure compensation
This is a feature of the camera a lot of people either don’t know what it is, or do know why they should use it to begin with. To me, this is the one function of the camera that let the user set an automatic mode such AV or TV and still be creative and have control over what the camera is doing.
The main reason reason why this should be use more often, is due to how the camera’s meter is design to work. Without getting into lengthy explanations of a meter system, cameras are set to see the world as neutral grey, AKA 18% gray. Therefore if you take a picture of a white wall, the camera will assume that the wall is meant to be gray and will shorten the exposure “underexpose” to make the wall grey. The exact opposite will occur if you take a picture of a black wall. The camera will give you a longer than needed exposure (overexpose) to make the black wall gray.
Once this concept is grasp, that is when one begins to use exposure compensation all the time, to complete the creative process. Go out there and set the camera to AV , choose an f stop that suits your subject; Do you want a nice portrait with a blurry background? Open up the lens all the way. Is it the place a bit dark because your subject is on the shade? Use a higher ISO. Once the camera have 2 of the 3 variables “in this case an f stop and ISO” the third value is chosen by the camera, in this case the shutter speed.But… What would happen to your portrait if a good portion of the frame is going to be a bright blue sky? Well, chances are the camera will expose that sky properly leaving you with the portrait of a lovely black silhouette. If that is what one was looking for, then great, but if you were not going for the silhouette effect that was when you needed to overexpose via exposure compensation to have a proper reading of your main subject. In a nutshell this is how you can use some semiautomatic setting but still have control over what is going on as supposed of the camera doing all the thinking for you.
Thanks for stopping by.
I welcome, questions, comment and critiques.
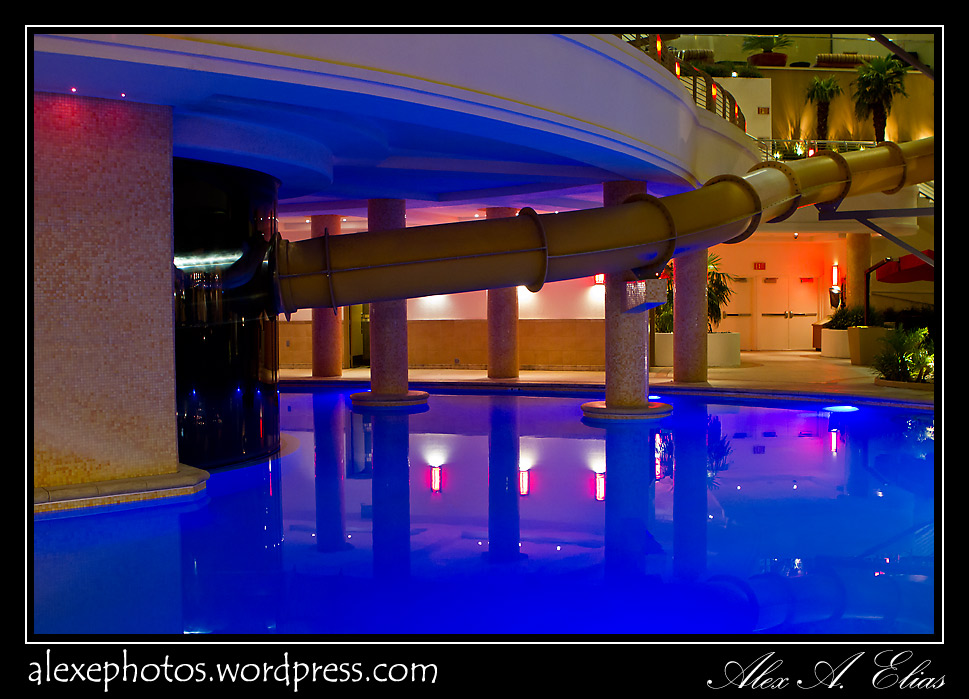
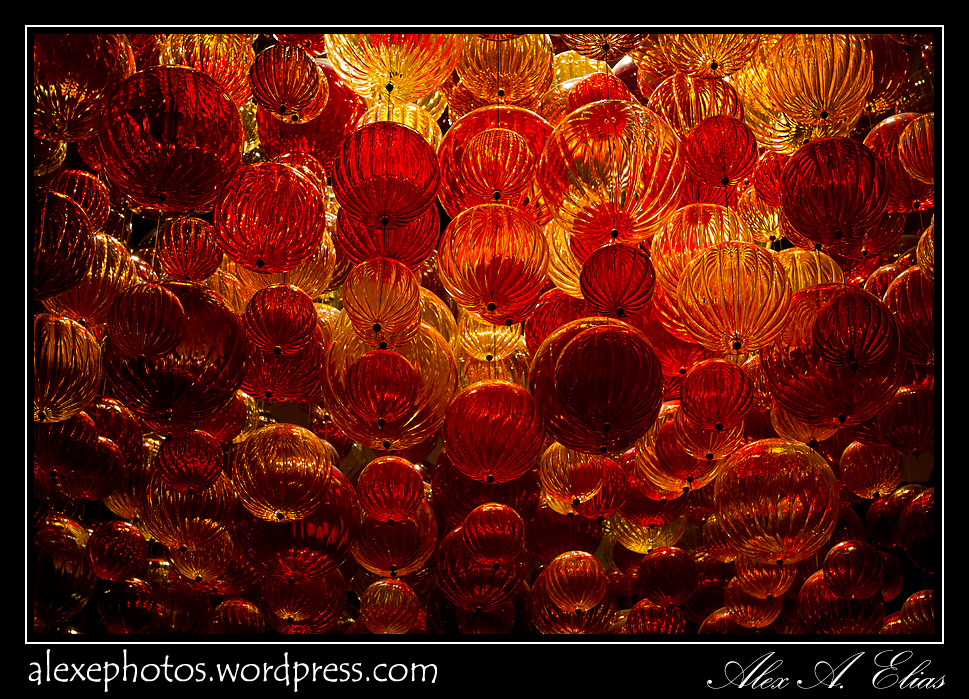
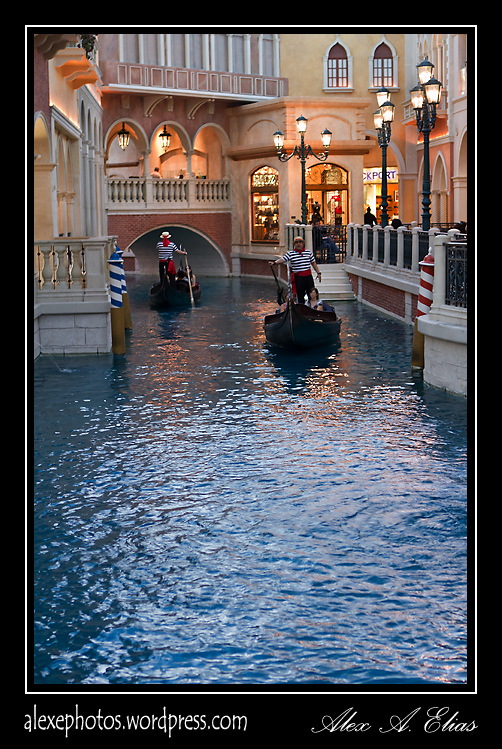
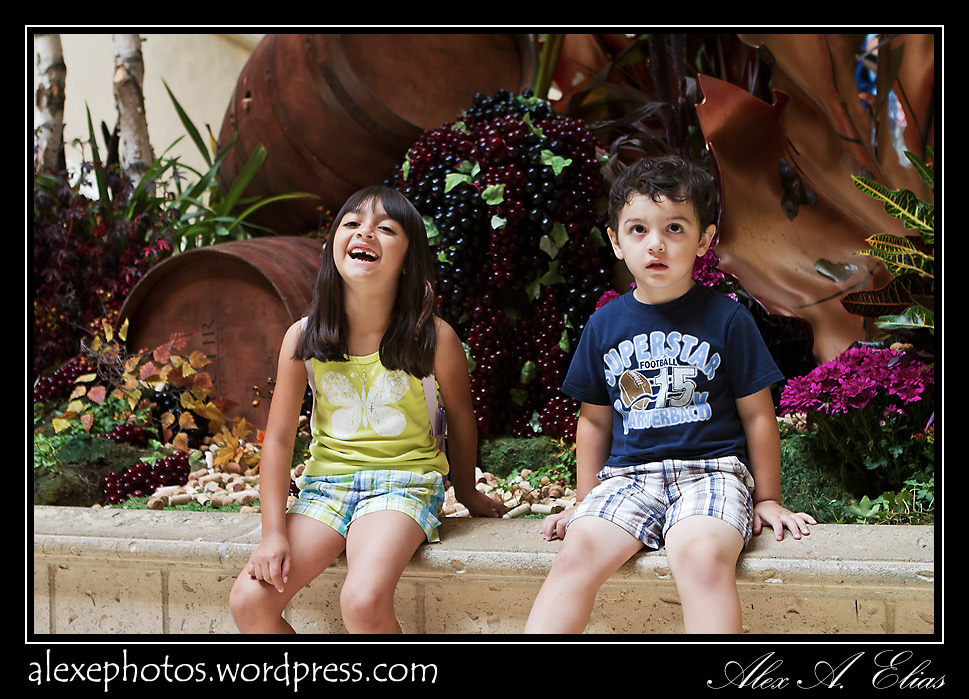
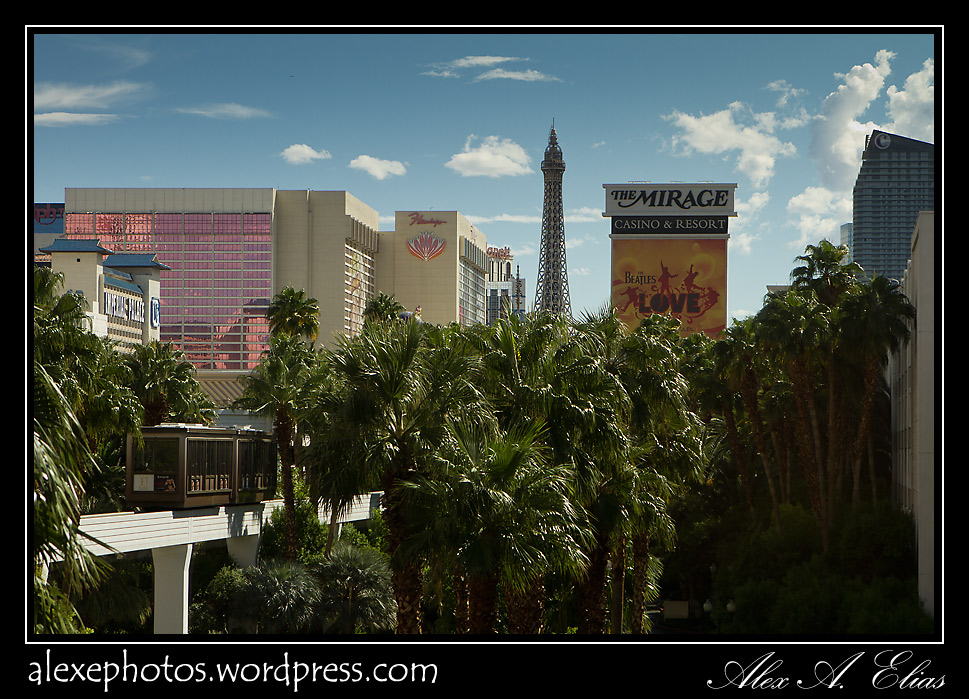
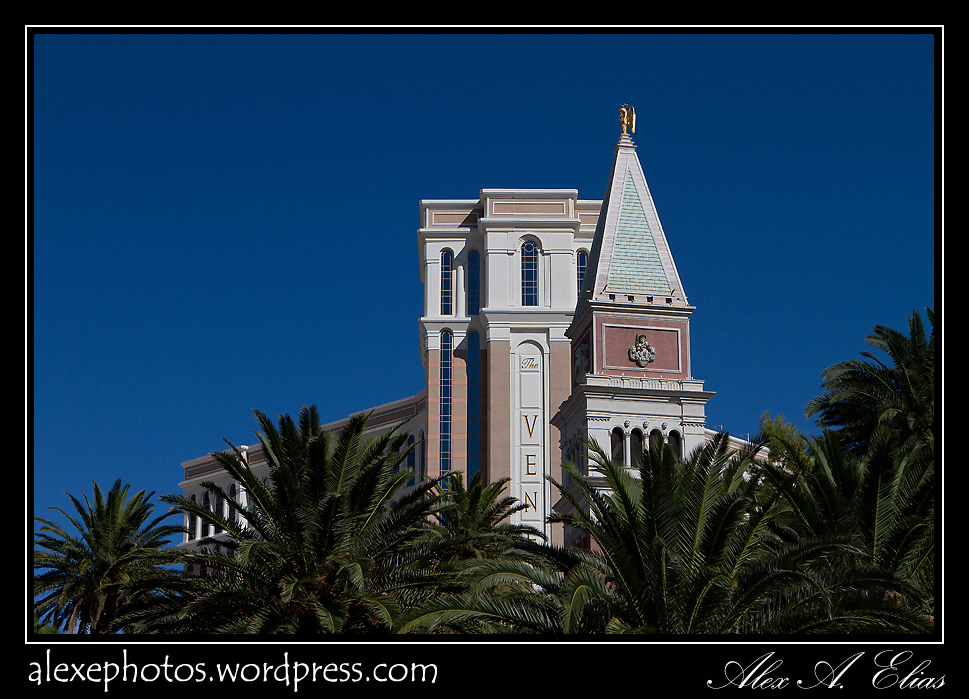
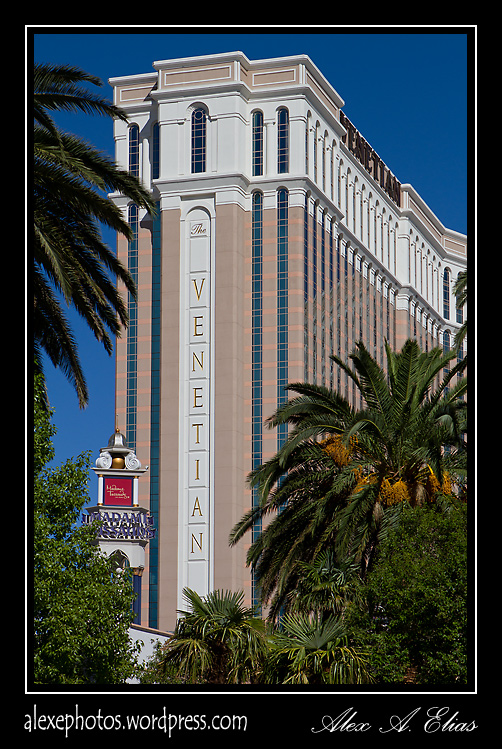
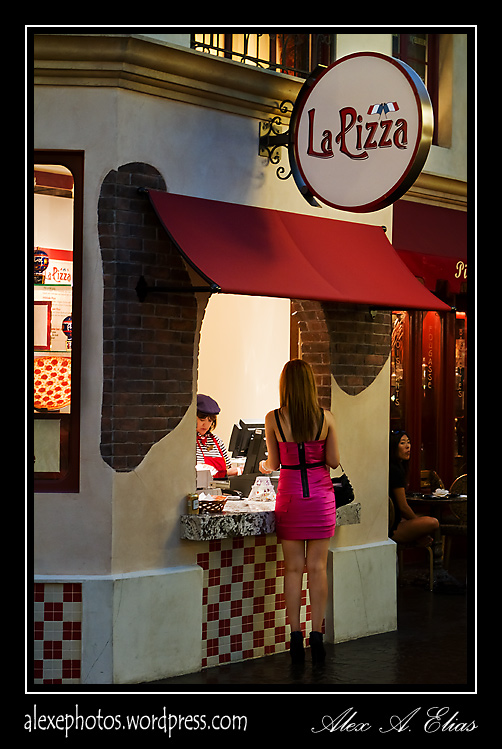
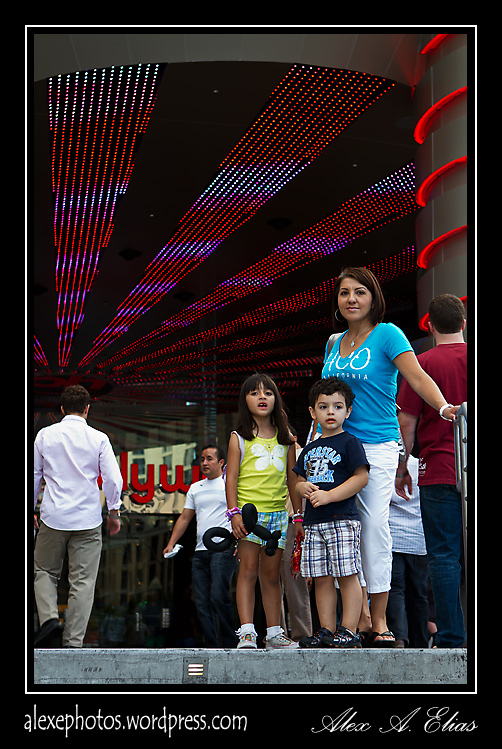
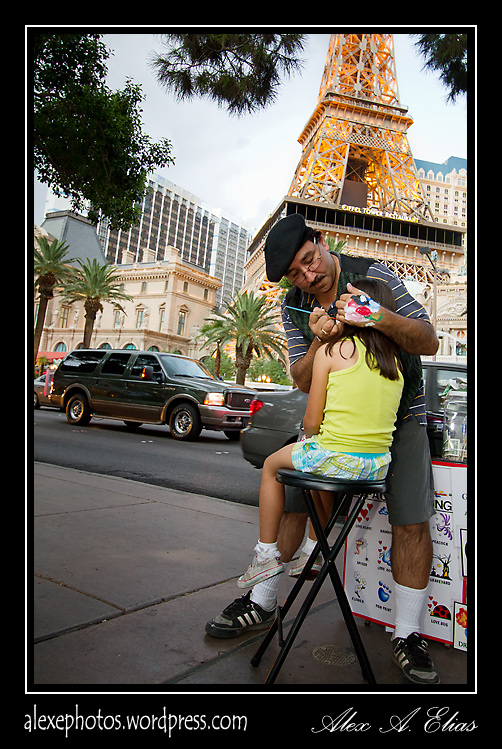
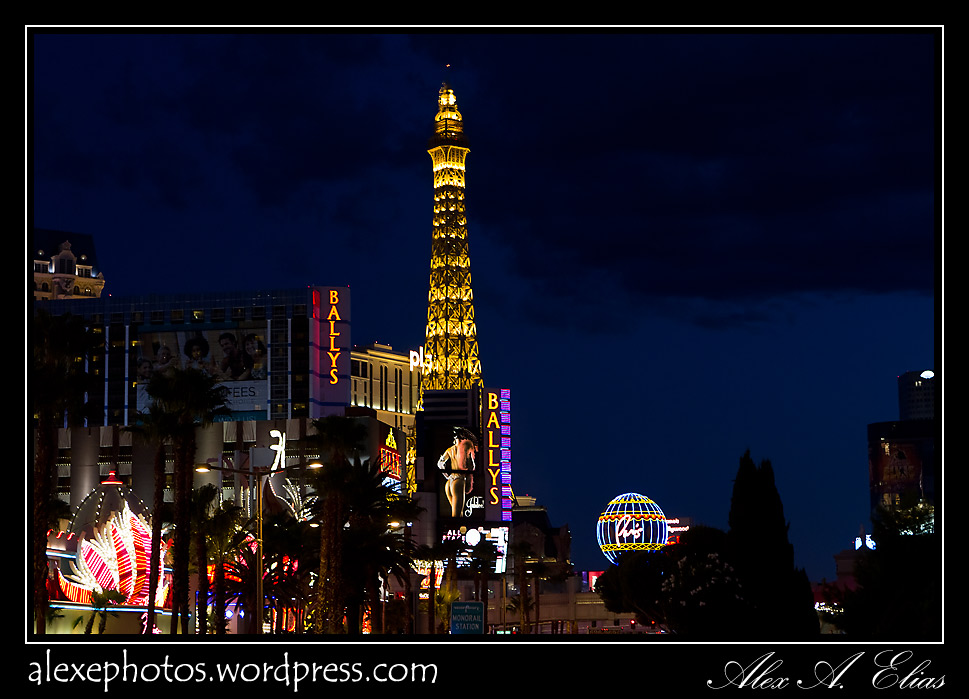
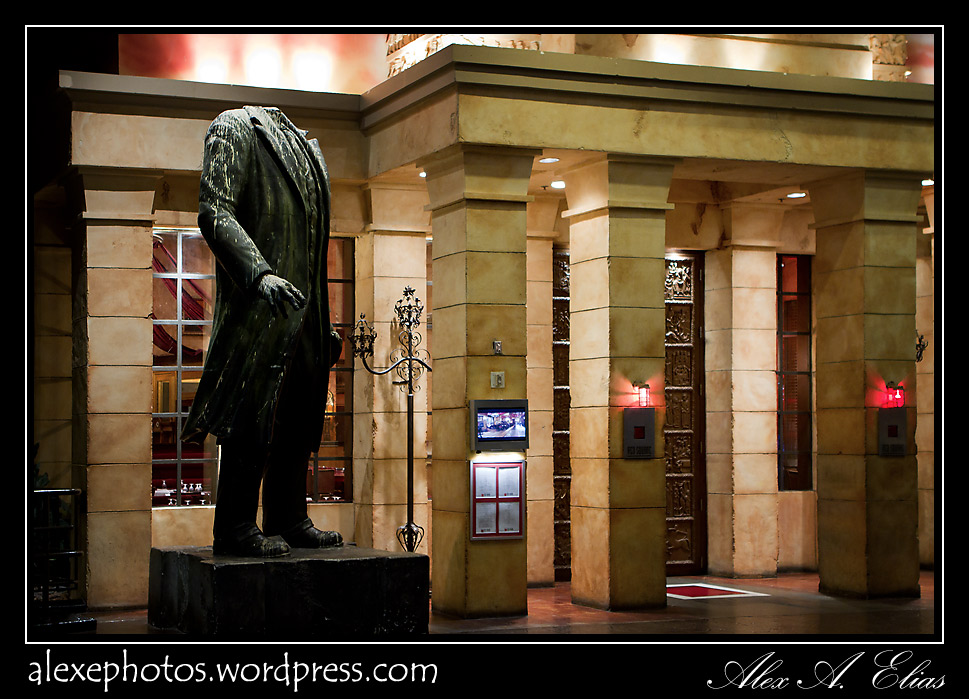
Here are some random images I got from that day.